
Install & open
Install the plugin through Fab, enable it in your project, and open its window.
- Add the plugin to your Fab library. In Epic Games Launcher, open Unreal Engine → Library → Fab Library.
- Choose Install to Engine and your engine version. Enable the plugin in Edit → Plugins; restart if asked.
- Open Tools → Pautinka → Rig & Retarget. Choose the interface language near the logo.
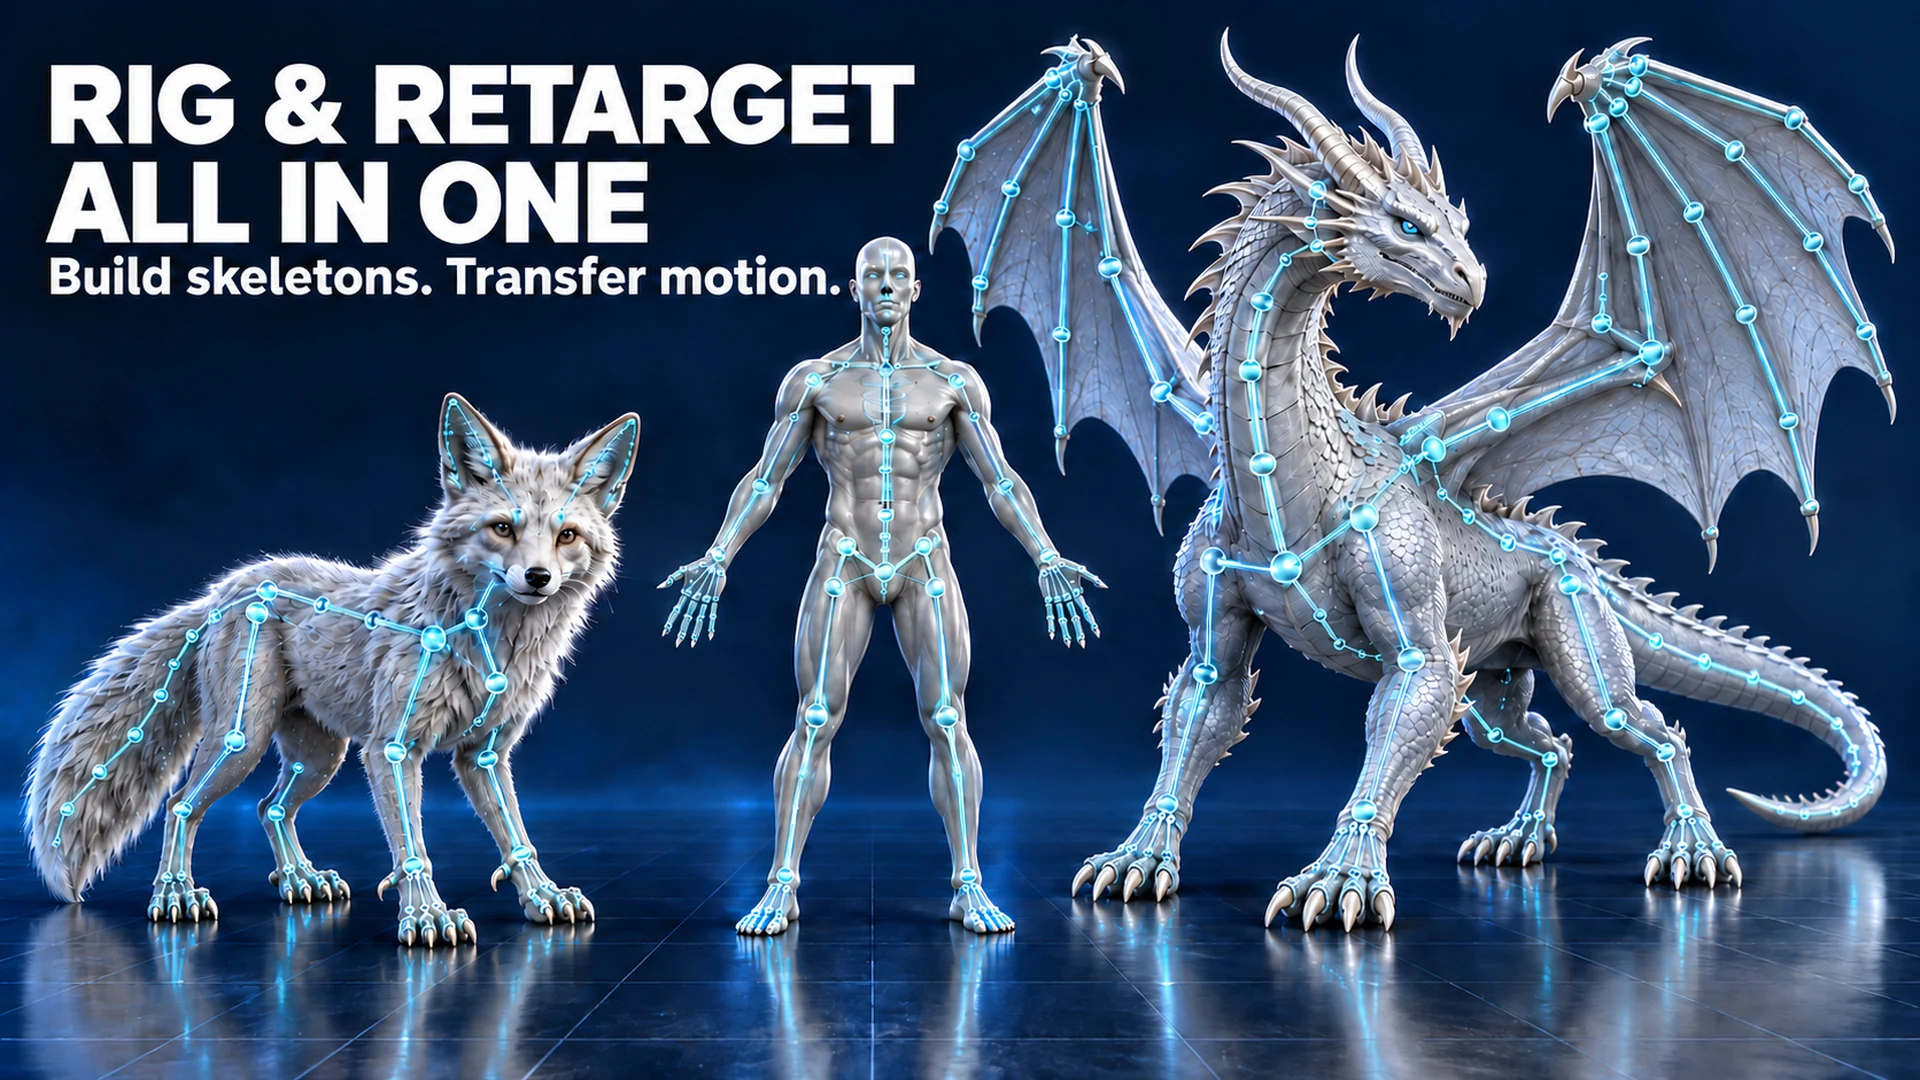
Skeleton builds the character. Retarget transfers movement. Clone Retarget imitates posture. Batch Retarget handles a queue. Face handles facial joints and existing morphs. Settings adjusts the preview.
The plugin interface has seven languages: English, German, French, Italian, Spanish, Simplified Chinese and Russian. This guide has ten. Button names stay in English so you can find them.
From mesh to skeleton
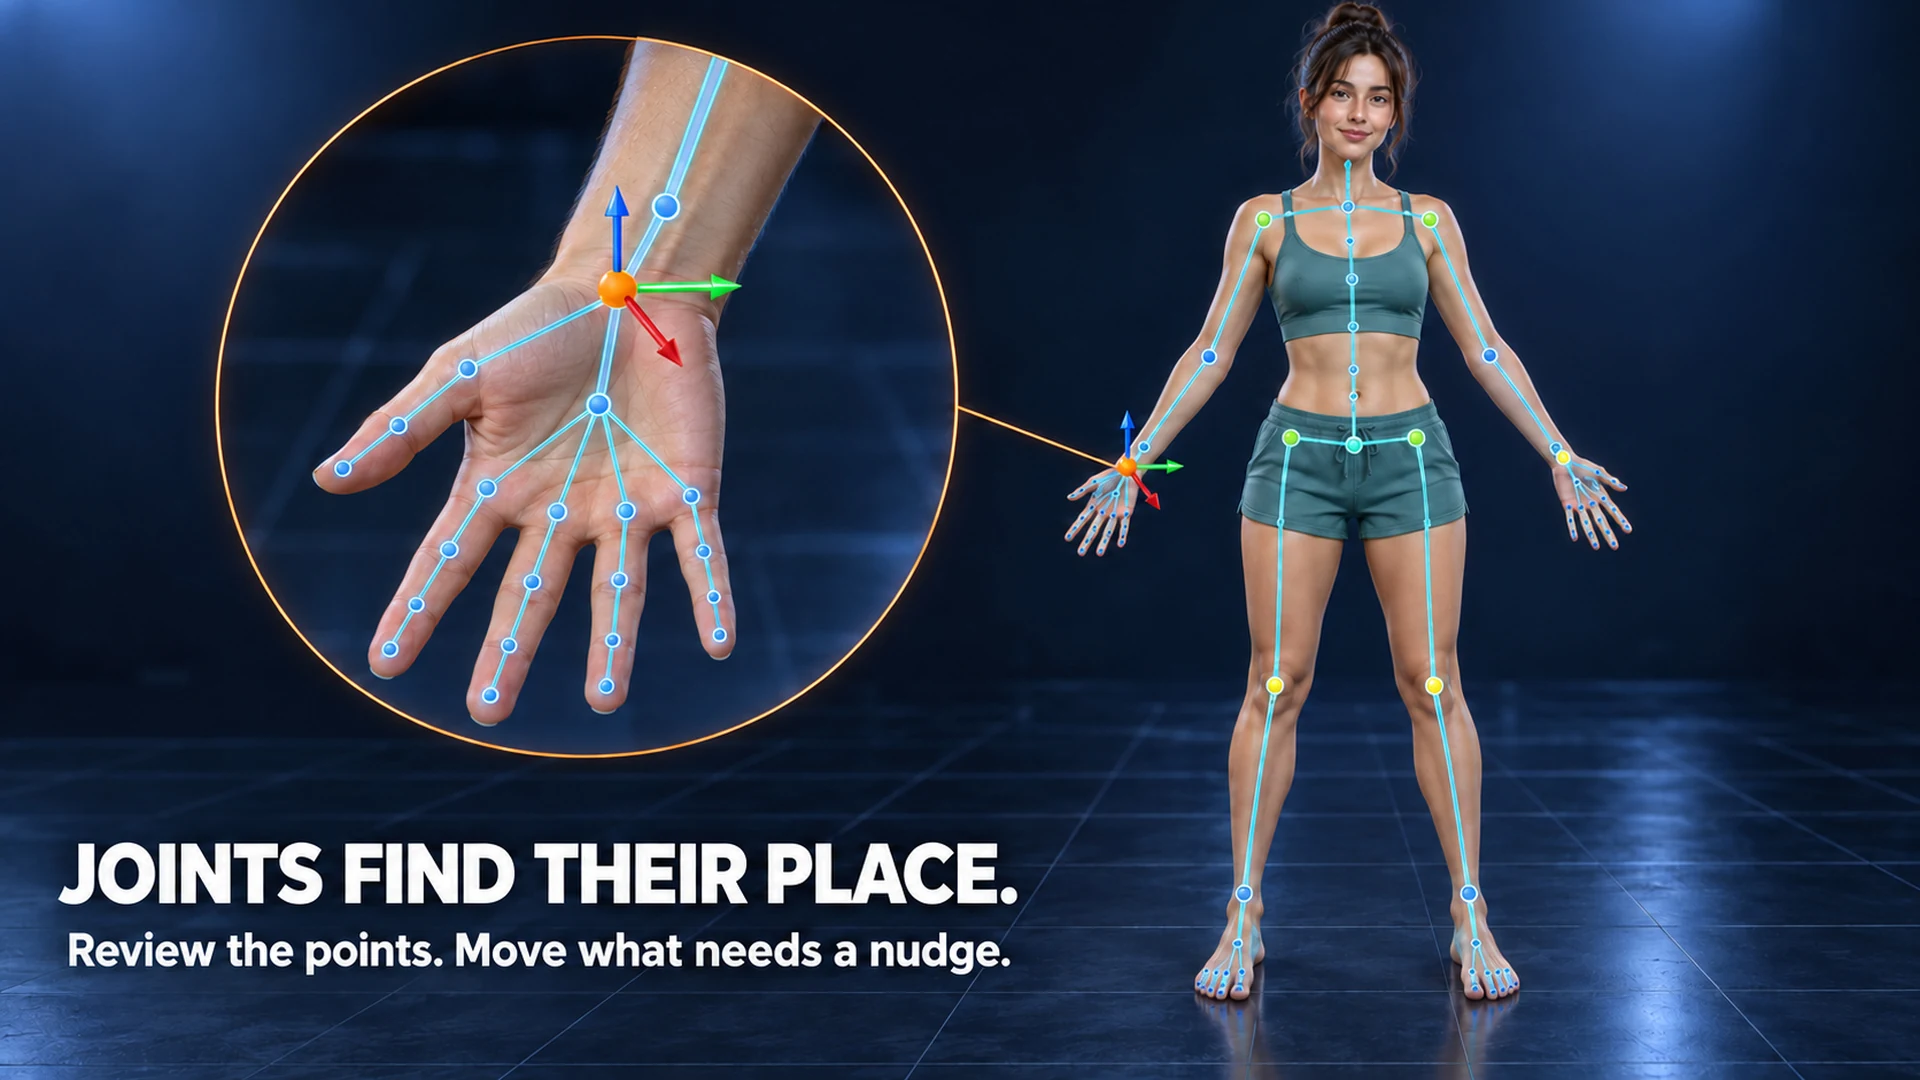
Review the suggested joints, move any misplaced points, then create the Skeletal Mesh.
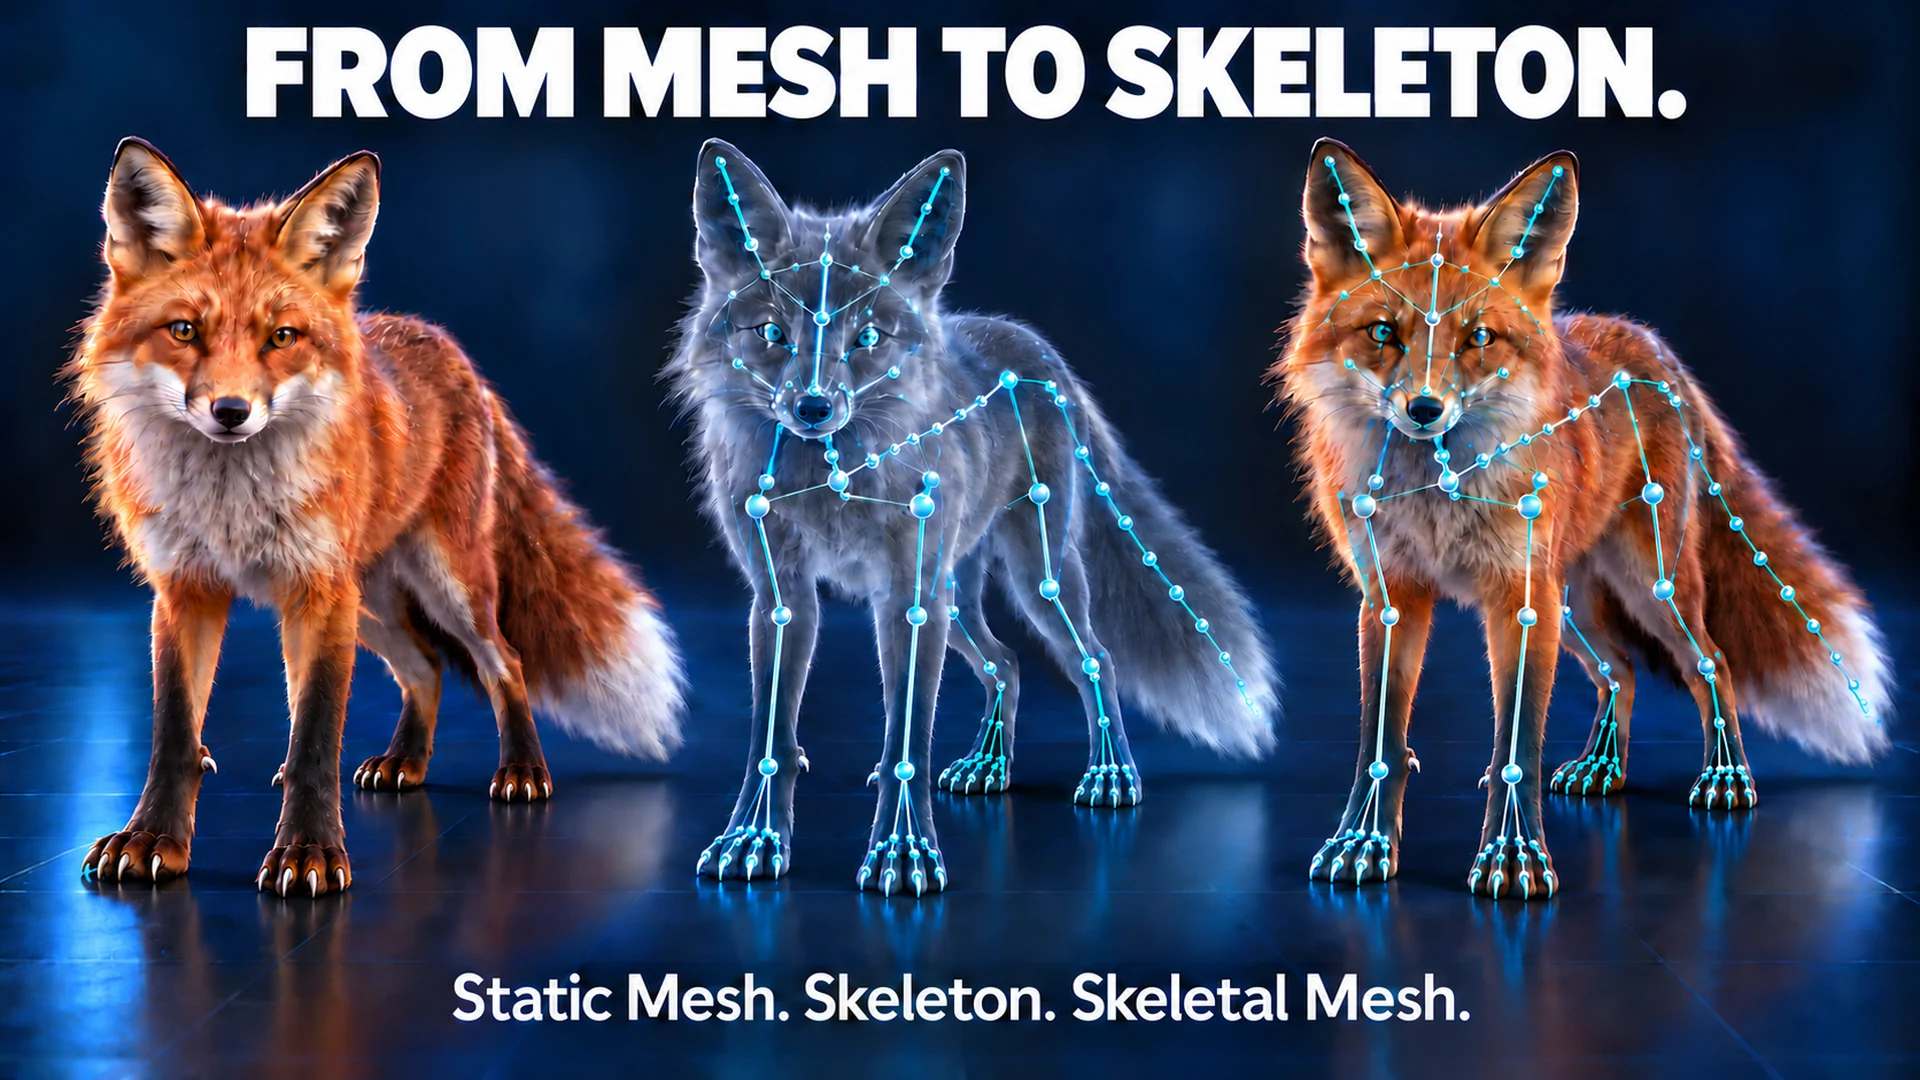
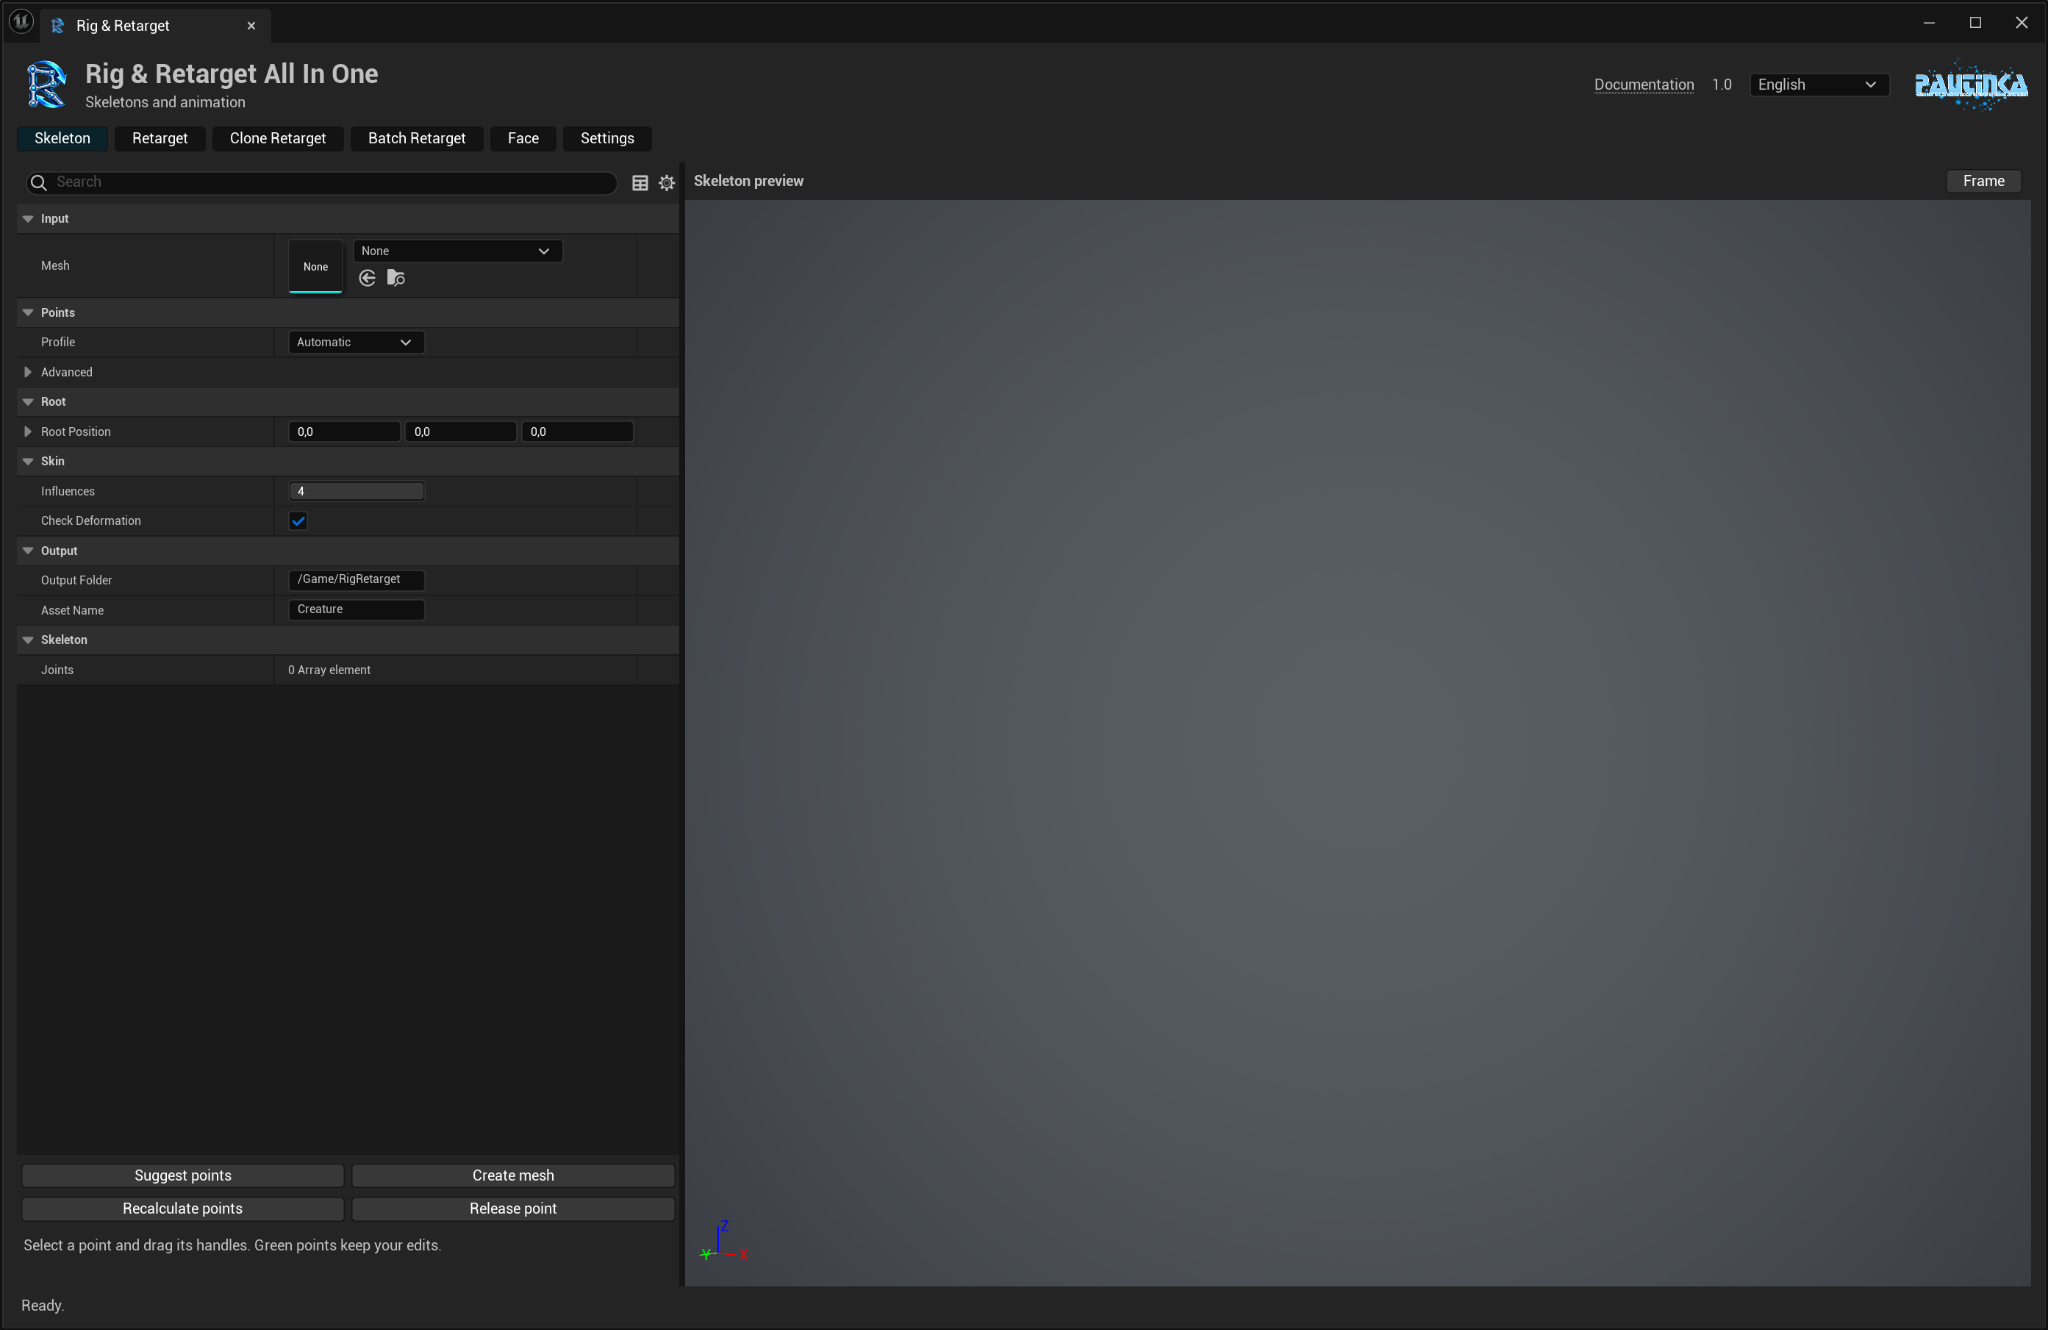
- In Skeleton, choose a Static Mesh. Leave Profile on Automatic, or select the creature type.
- Press Suggest points. Check the spine, limb bends, small parts and face in the preview.
- Select a point and drag its handles. Your moved points turn green; the selected point is orange.
- Use Recalculate points to update around your edits. Release point lets a point move automatically again.
- Choose Output Folder and Asset Name, then press Create mesh.
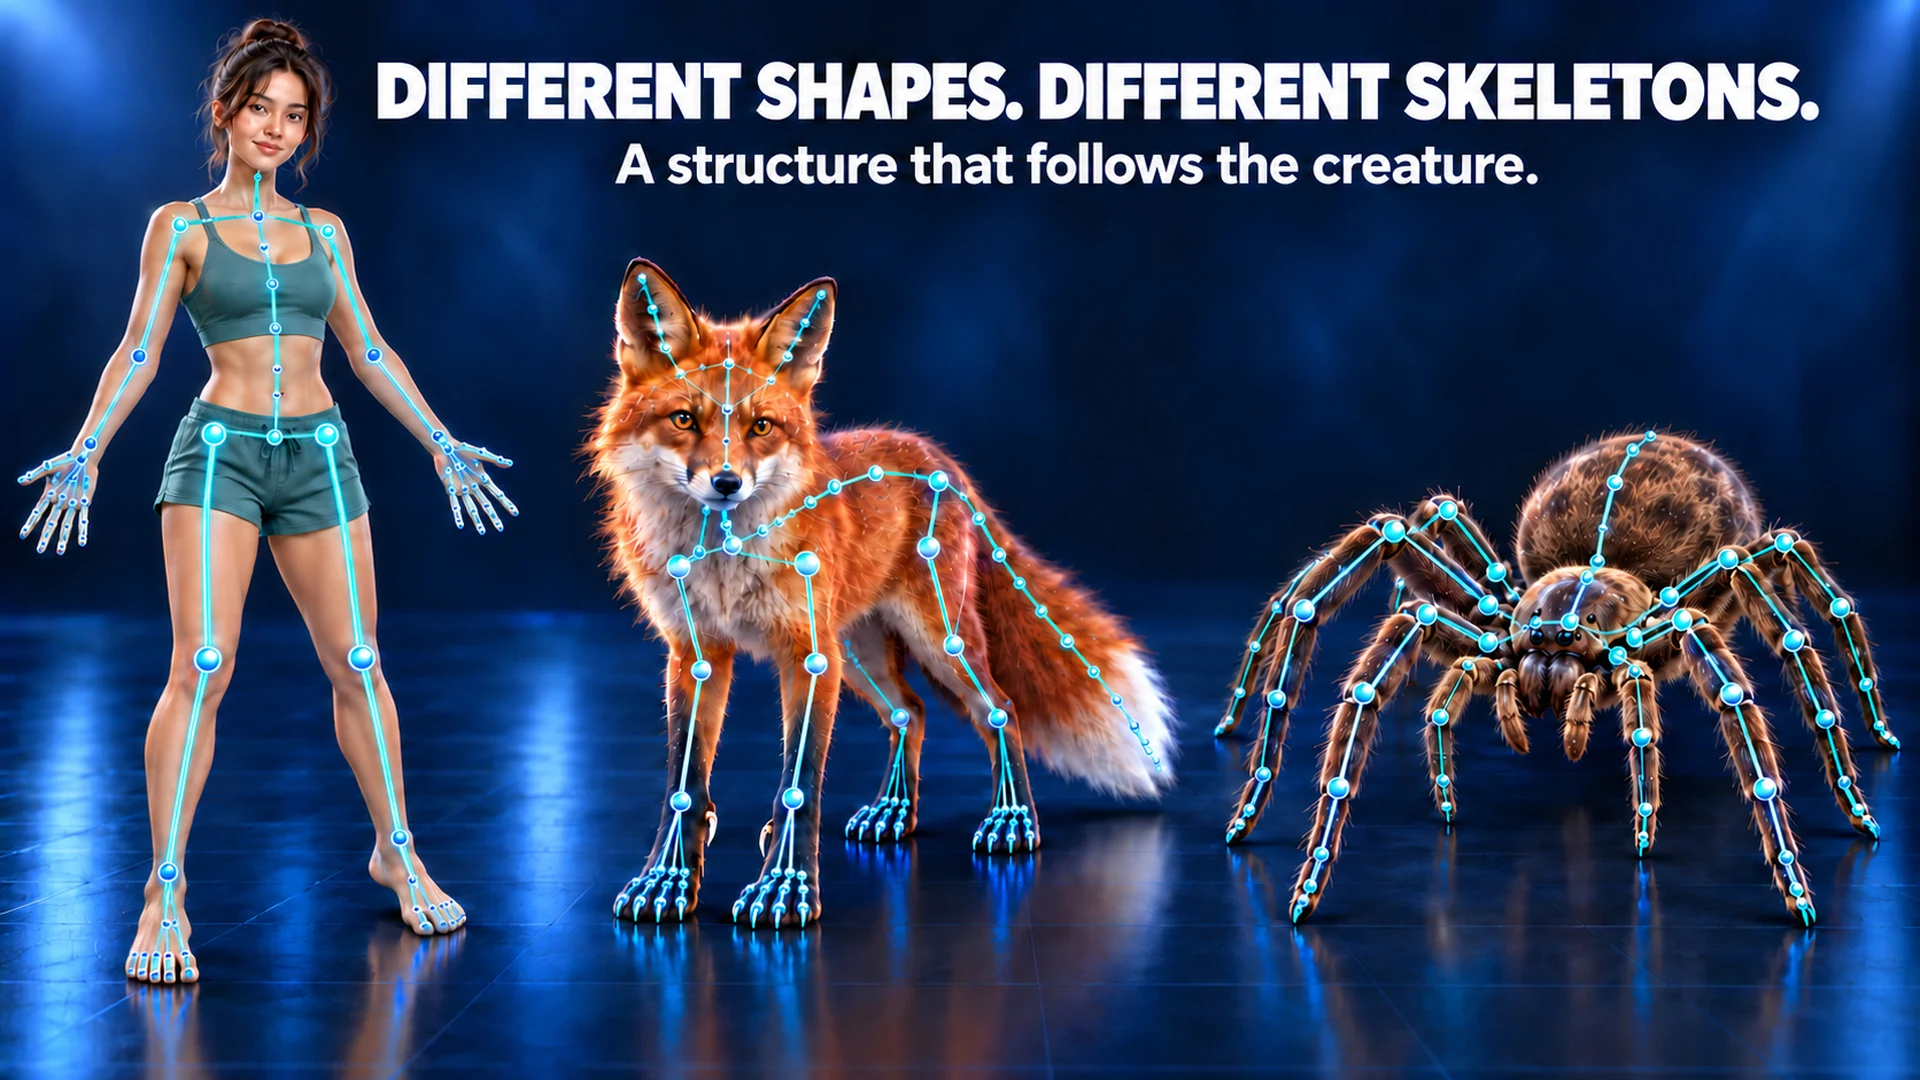
You get two Unreal assets: a Skeletal Mesh and its Skeleton, with one root bone. Body and face share the same mesh and skeleton. Originals stay untouched; existing output names get a new suffix.
Facing Adjustment corrects the initial facing direction. After changing it, the mesh or the profile, suggest points again. Example Id is optional. Root Position sets the root; Influences controls the bones affecting each vertex—four is a useful start.
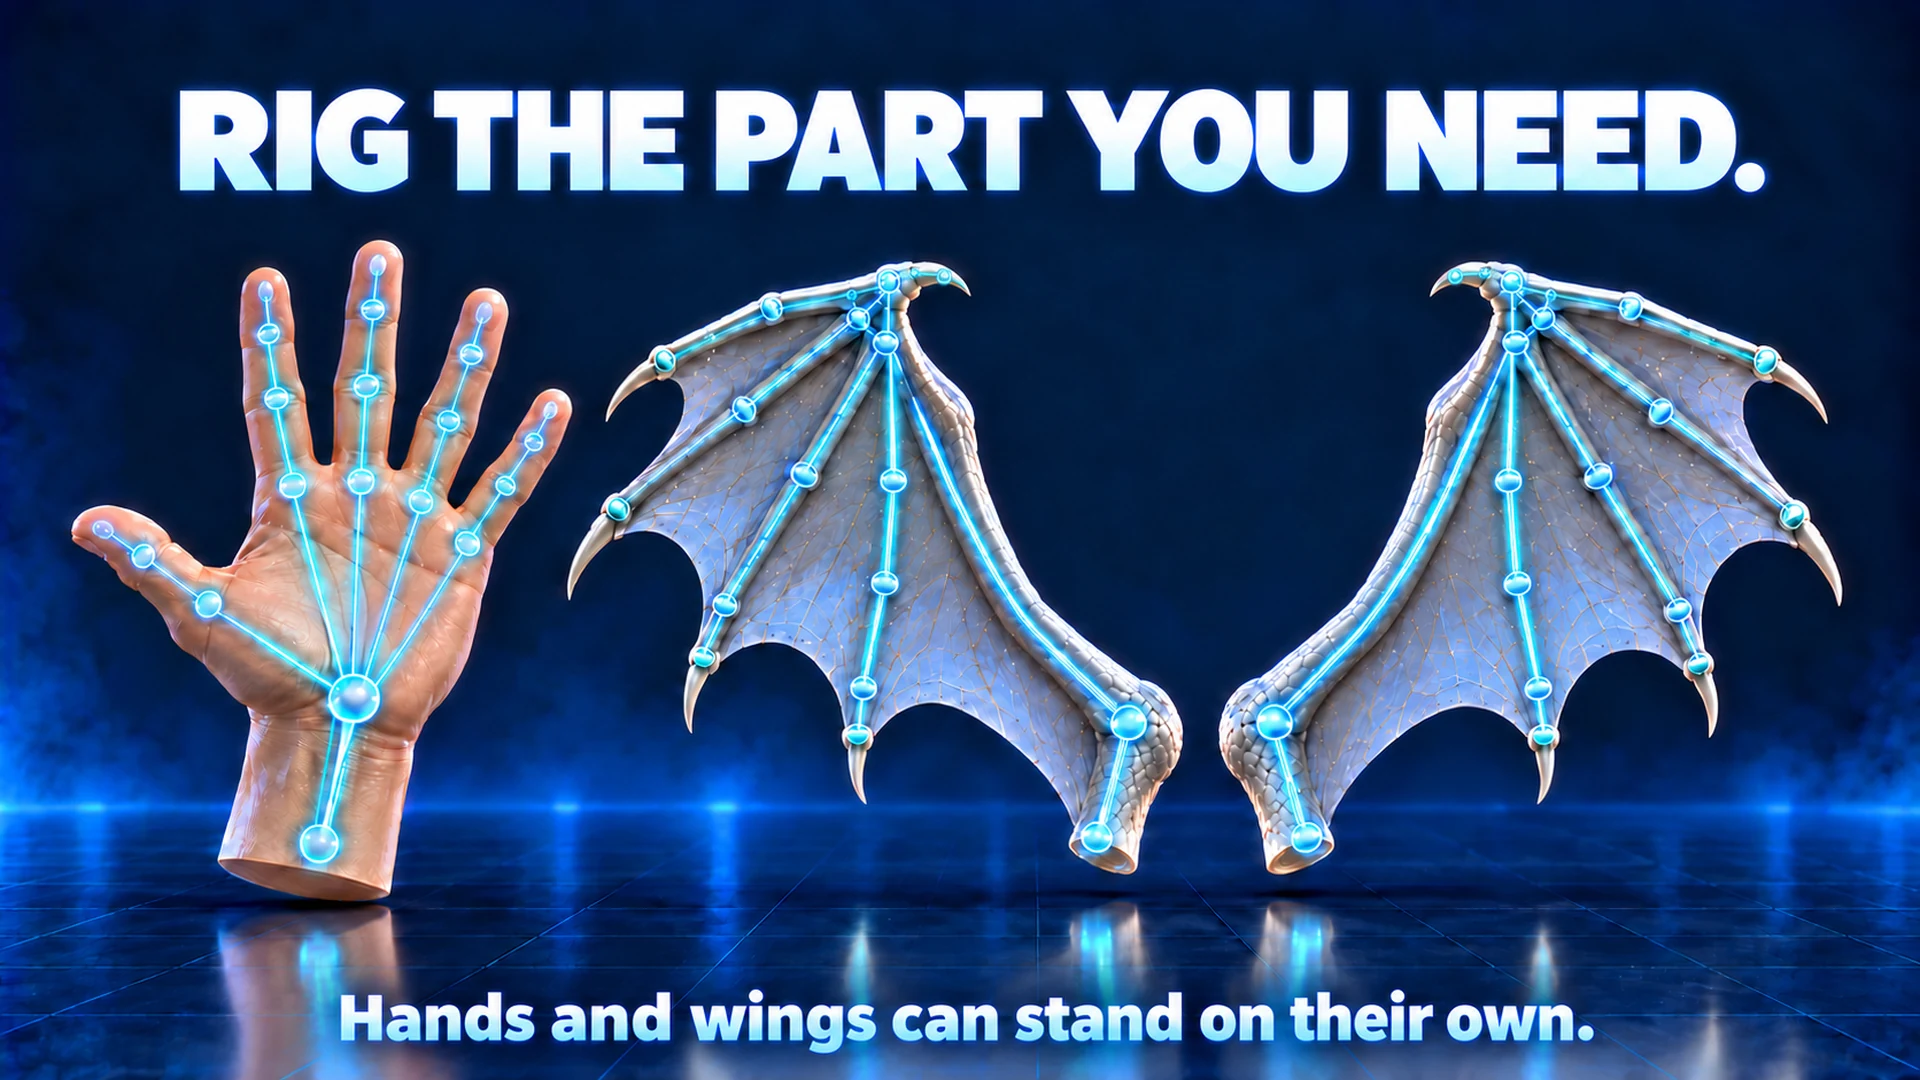
Check Deformation tests small bends. Hands and wings can be rigged separately. Review wing support branches and any unusual anatomy before creation. A paw does not need five human fingers just to feel included.
Transfer an animation
Choose the source animation and target mesh. Check both sides of the preview before saving.
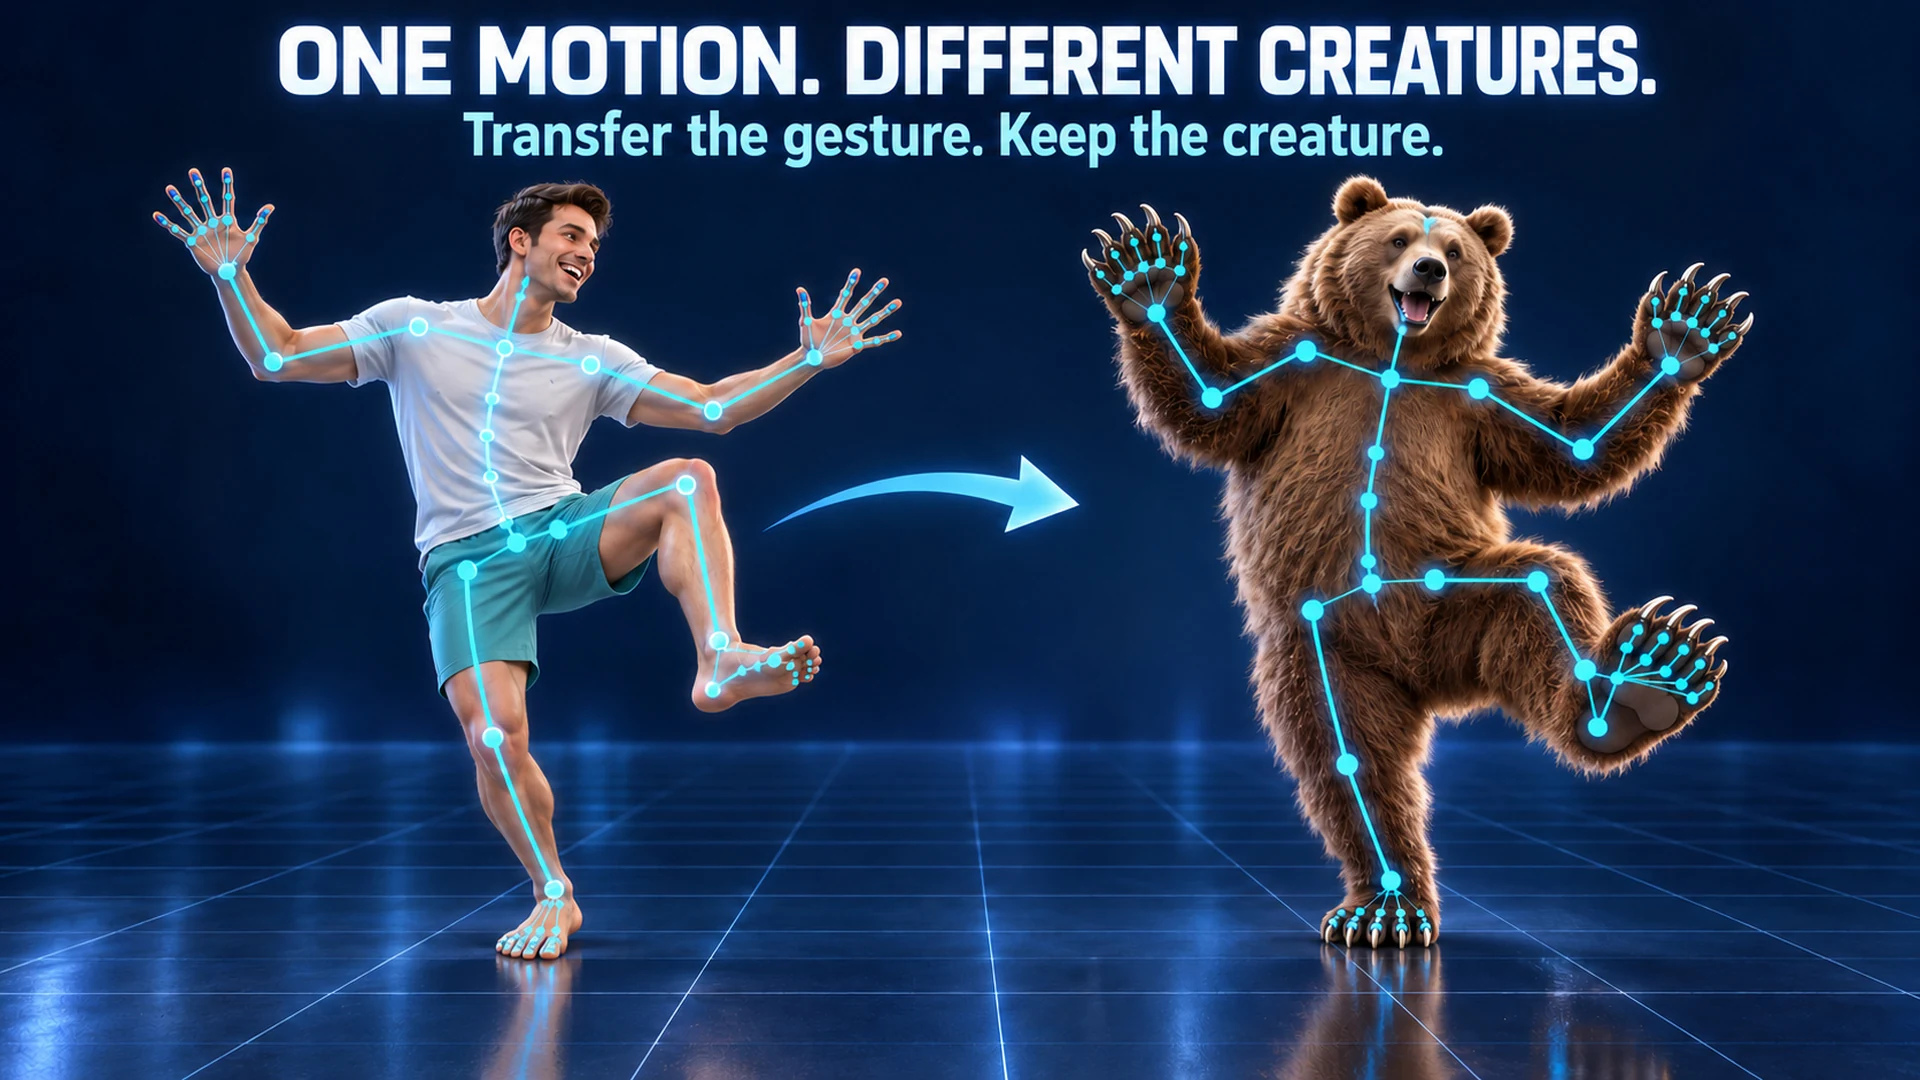
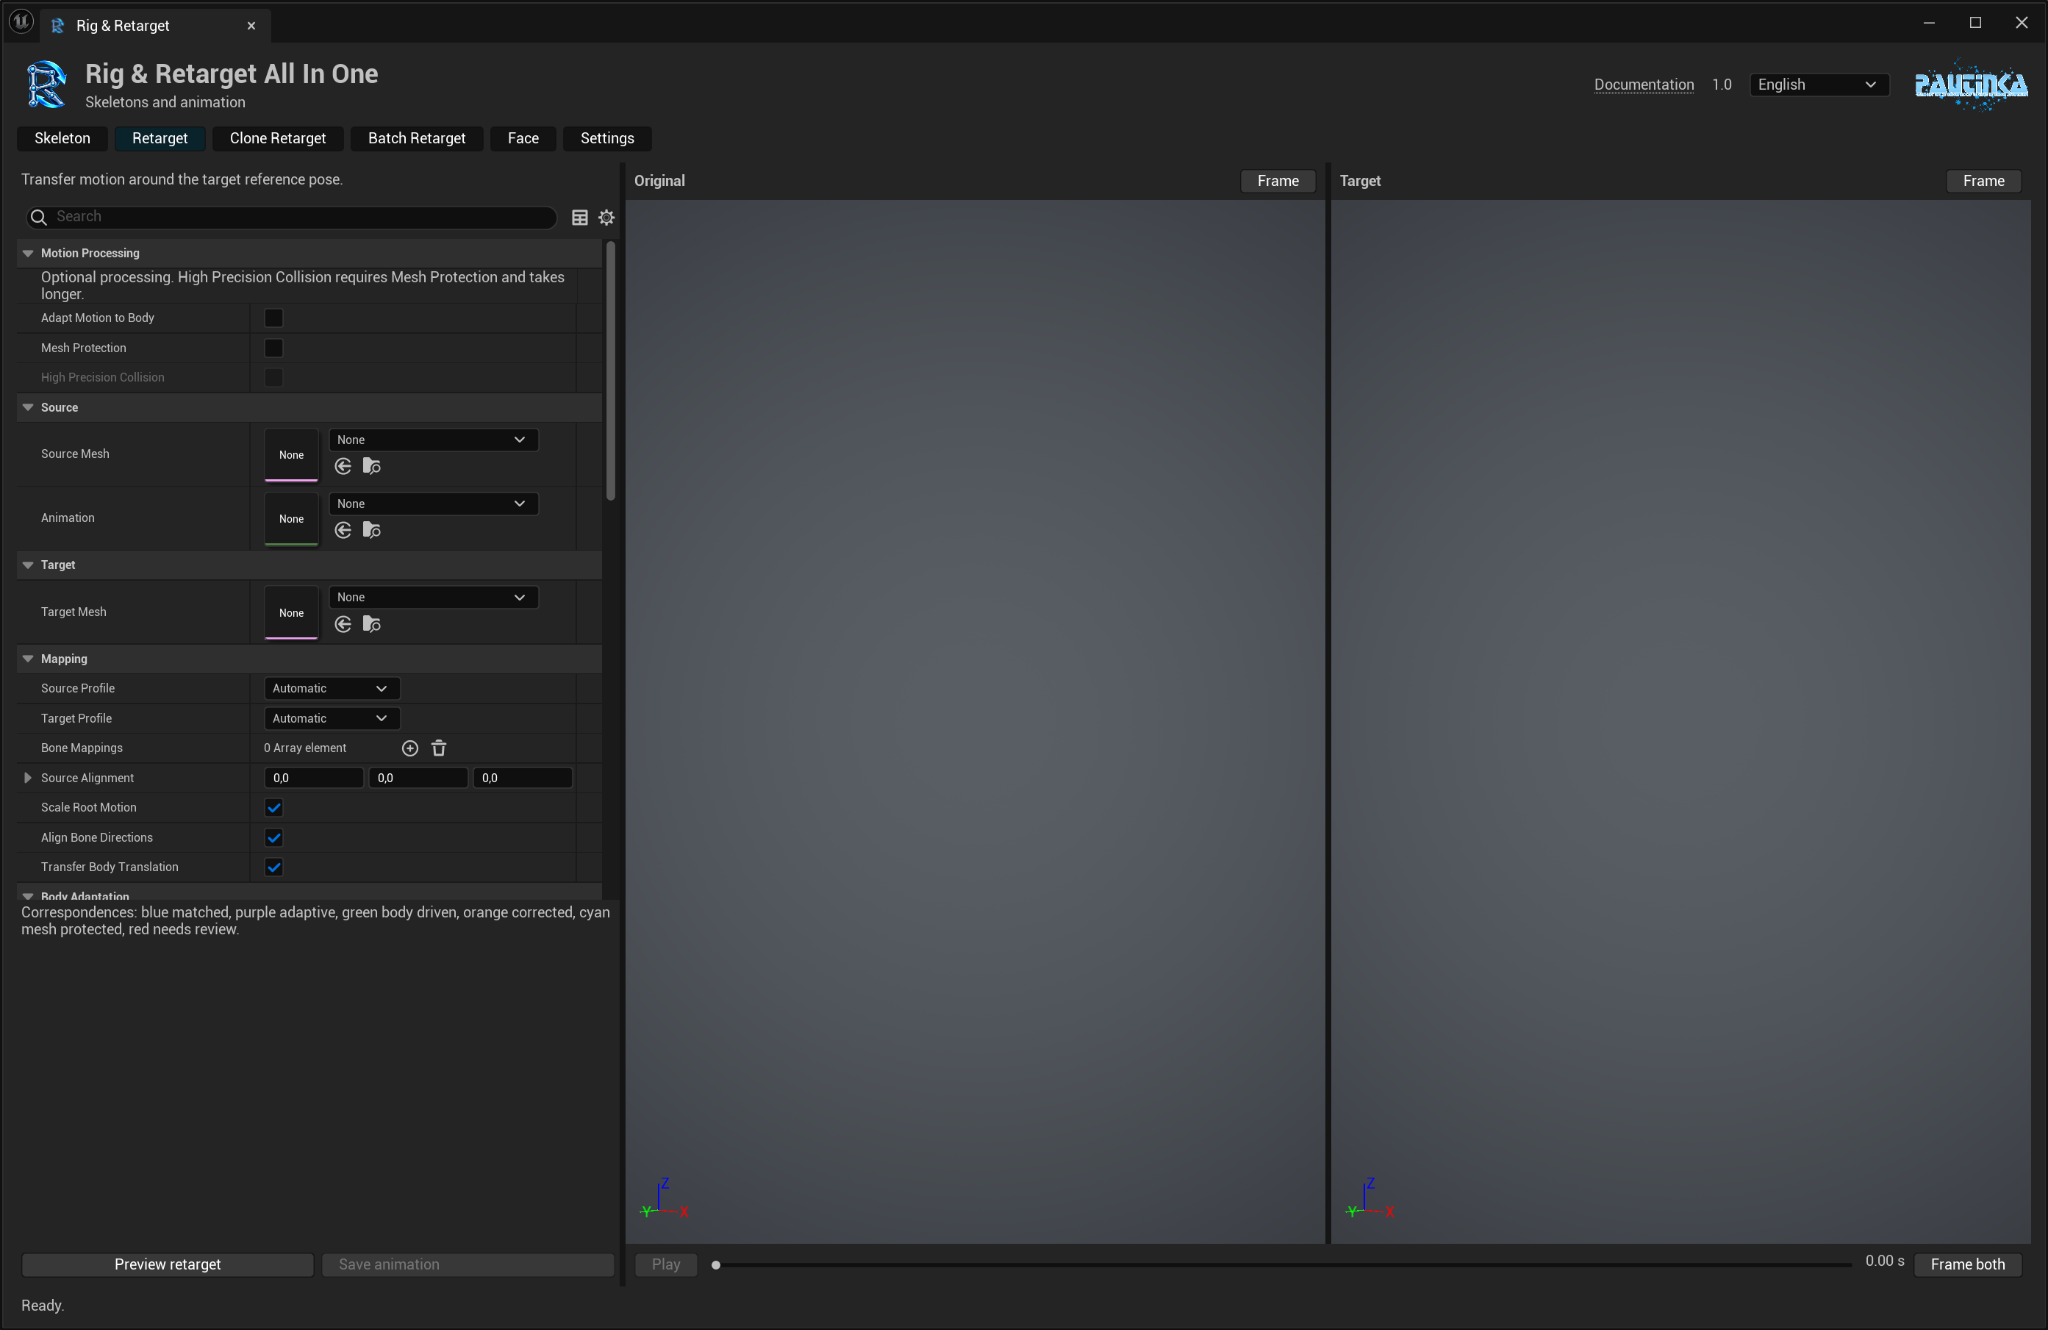
- In Retarget, choose an Animation Sequence and Target Mesh. Select Source Mesh if the original preview needs one.
- Press Preview retarget. Original is on the left; Target is on the right. Both use the same timeline.
- Adjust the settings, prepare the preview again, then choose Output Folder and Asset Name.
- Press Save animation. The new clip uses the target Skeleton.
Matching considers bone purpose, hierarchy and position as well as names. Source Profile and Target Profile help with unusual creatures. Bone Mappings lets you correct a pair; manual rows take priority. Use one row per target bone.
Align Bone Directions and Source Alignment help with orientation. Scale Root Motion adapts travel to size. Transfer Body Translation carries suitable body movement. Whole Body Wave spreads bending through body chains.
Preserve Contacts helps supporting feet or paws stay steady; Contact Strength controls it. Limit Joints reduces excessive bends. Check the full clip. Gameplay notifies and custom animation attributes are not copied.
Clone Retarget
Let the target follow the donor’s posture and movement while keeping its own geometry.
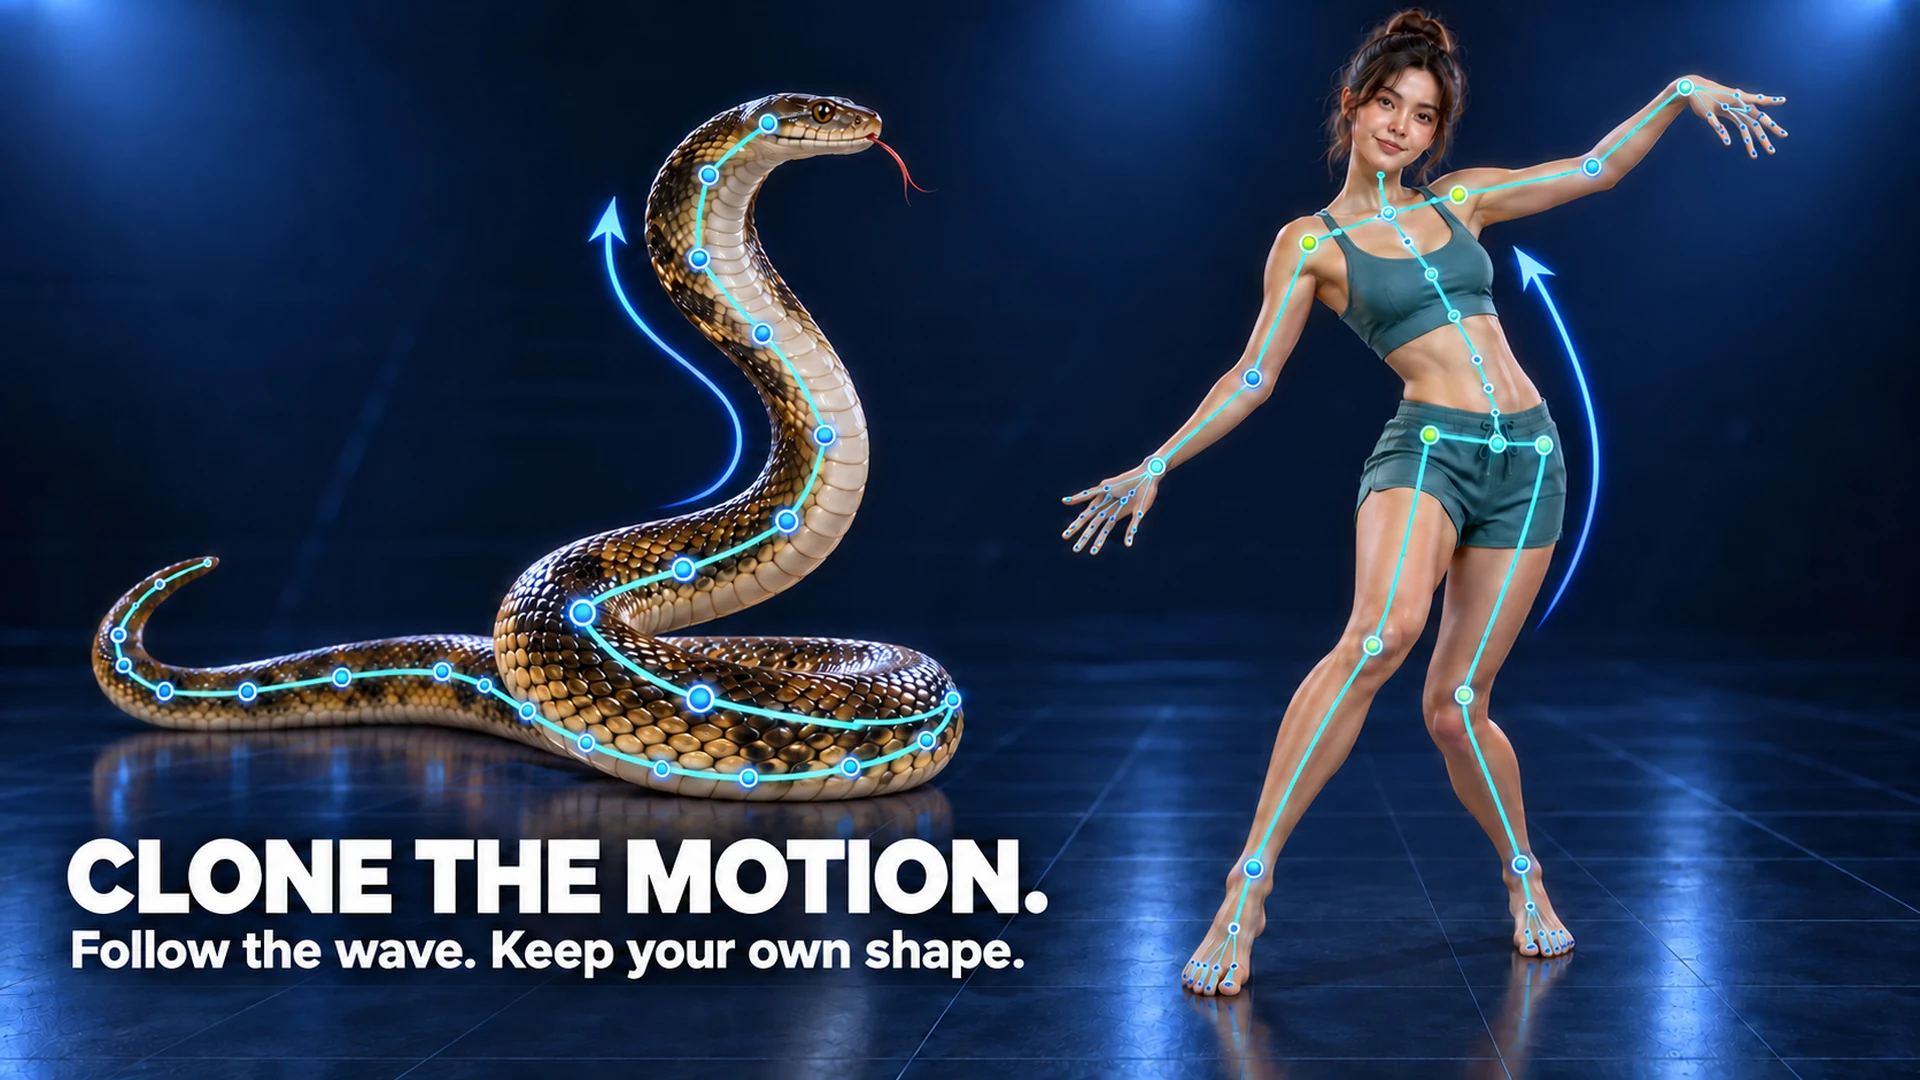
- Choose an animation and target in Clone Retarget. Press Preview clone retarget.
- Compare Donor and Clone. Adjust Imitation Strength and Posture Strength.
- Use Branch Spread to give paired limbs room. Maximum Joint Speed softens sudden turns.
- Prepare the preview again and save when the movement looks right.
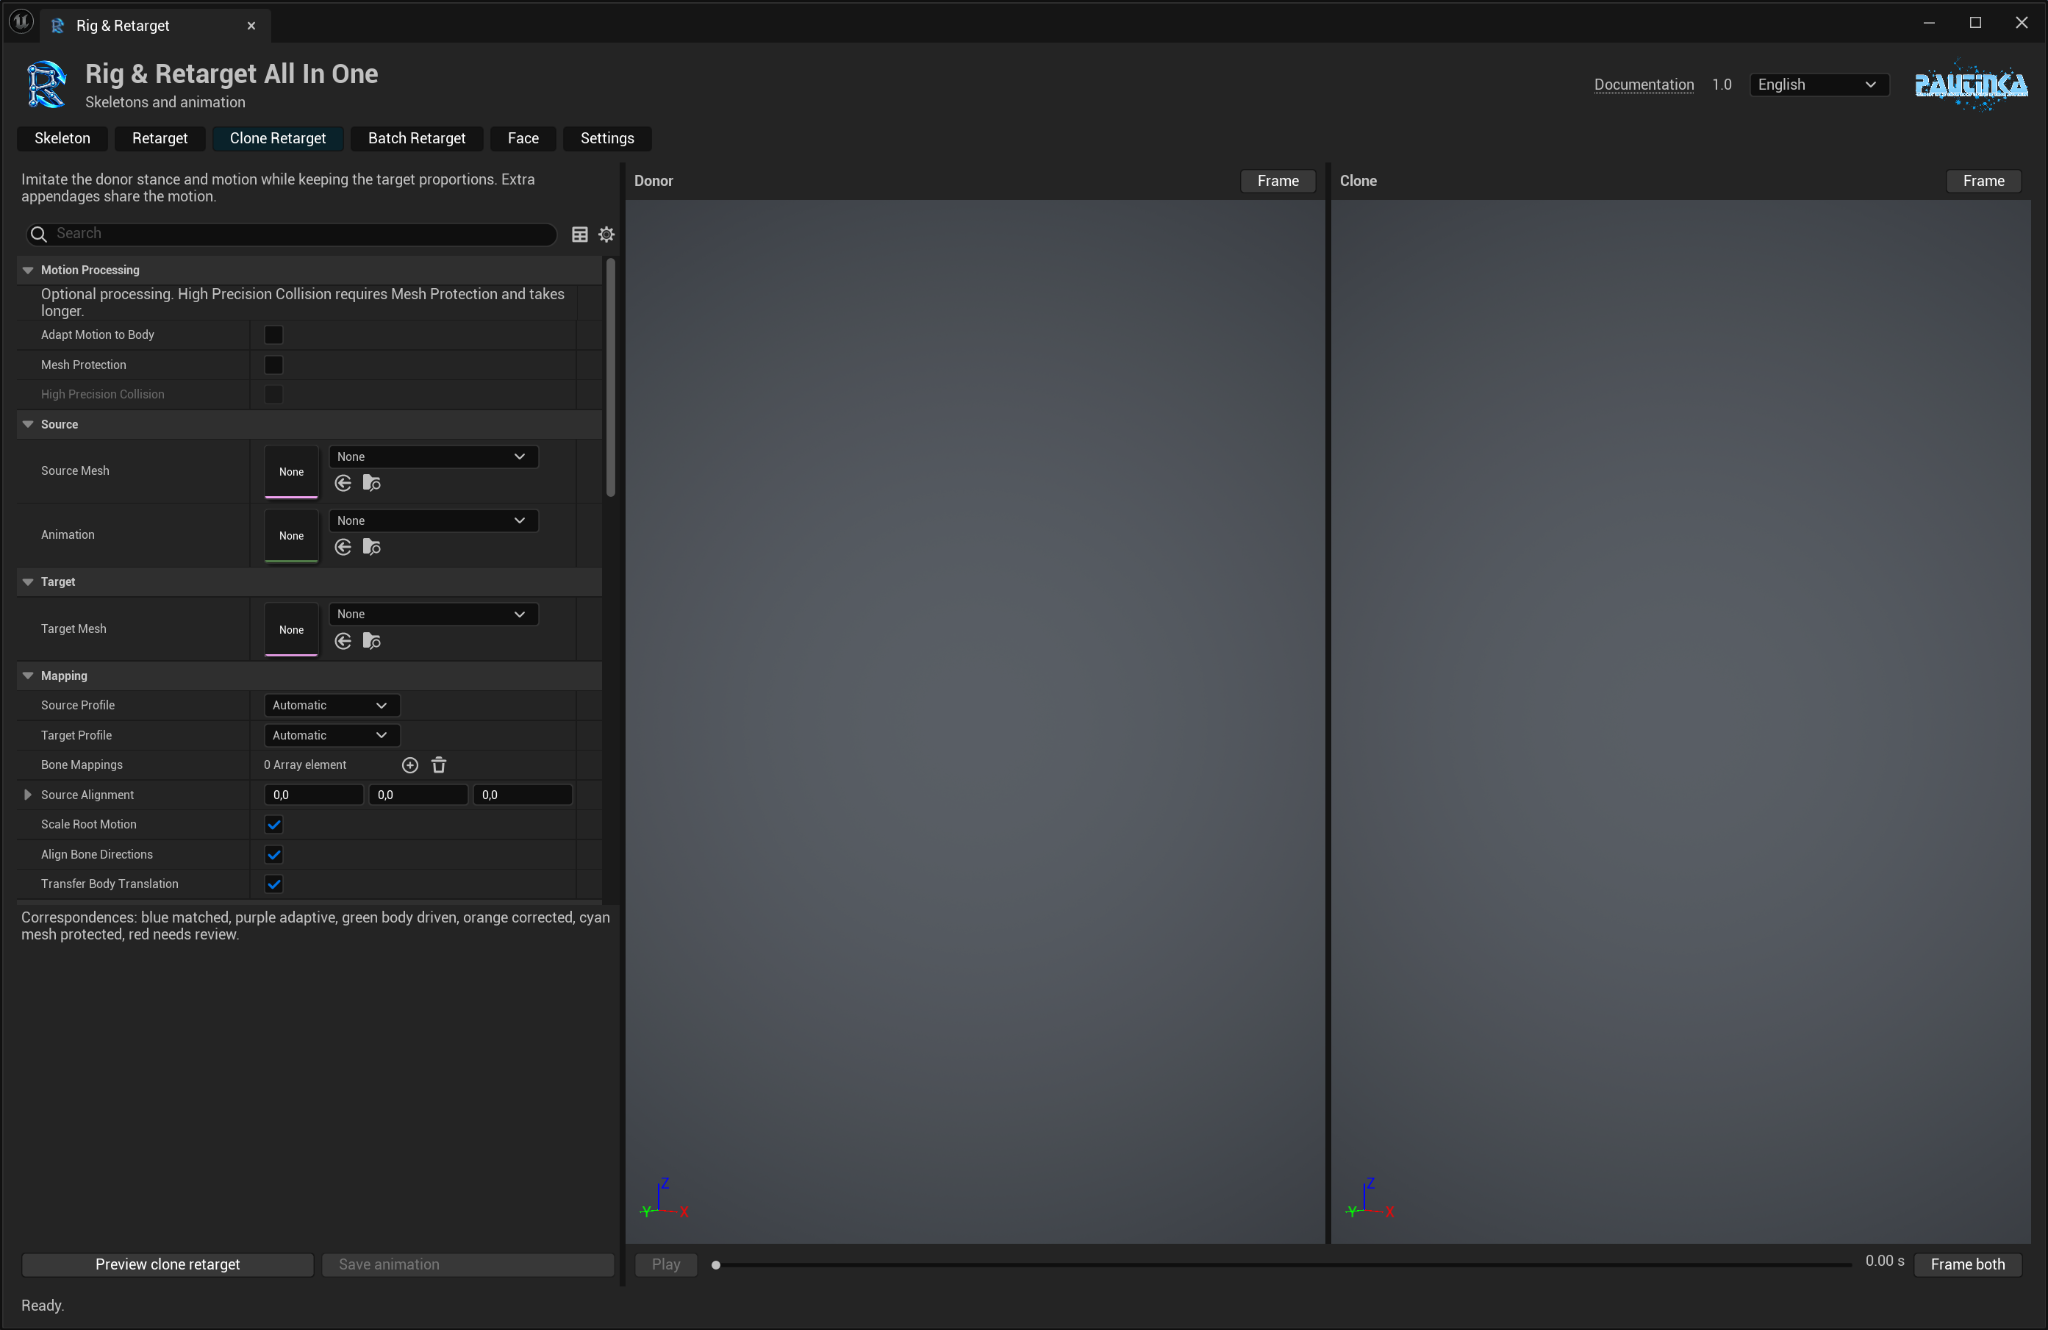
A human can echo a snake's body wave; a different creature can imitate the donor's stance. The target keeps its geometry and proportions. Missing limbs are not created.
Zero Imitation Strength gives the regular retarget result. Reduce imitation or posture strength if the pose folds too tightly. The two main modes keep separate settings and previews.
Tails, wings & other parts
Set how tails, wings and other parts react when there is no matching animated bone.
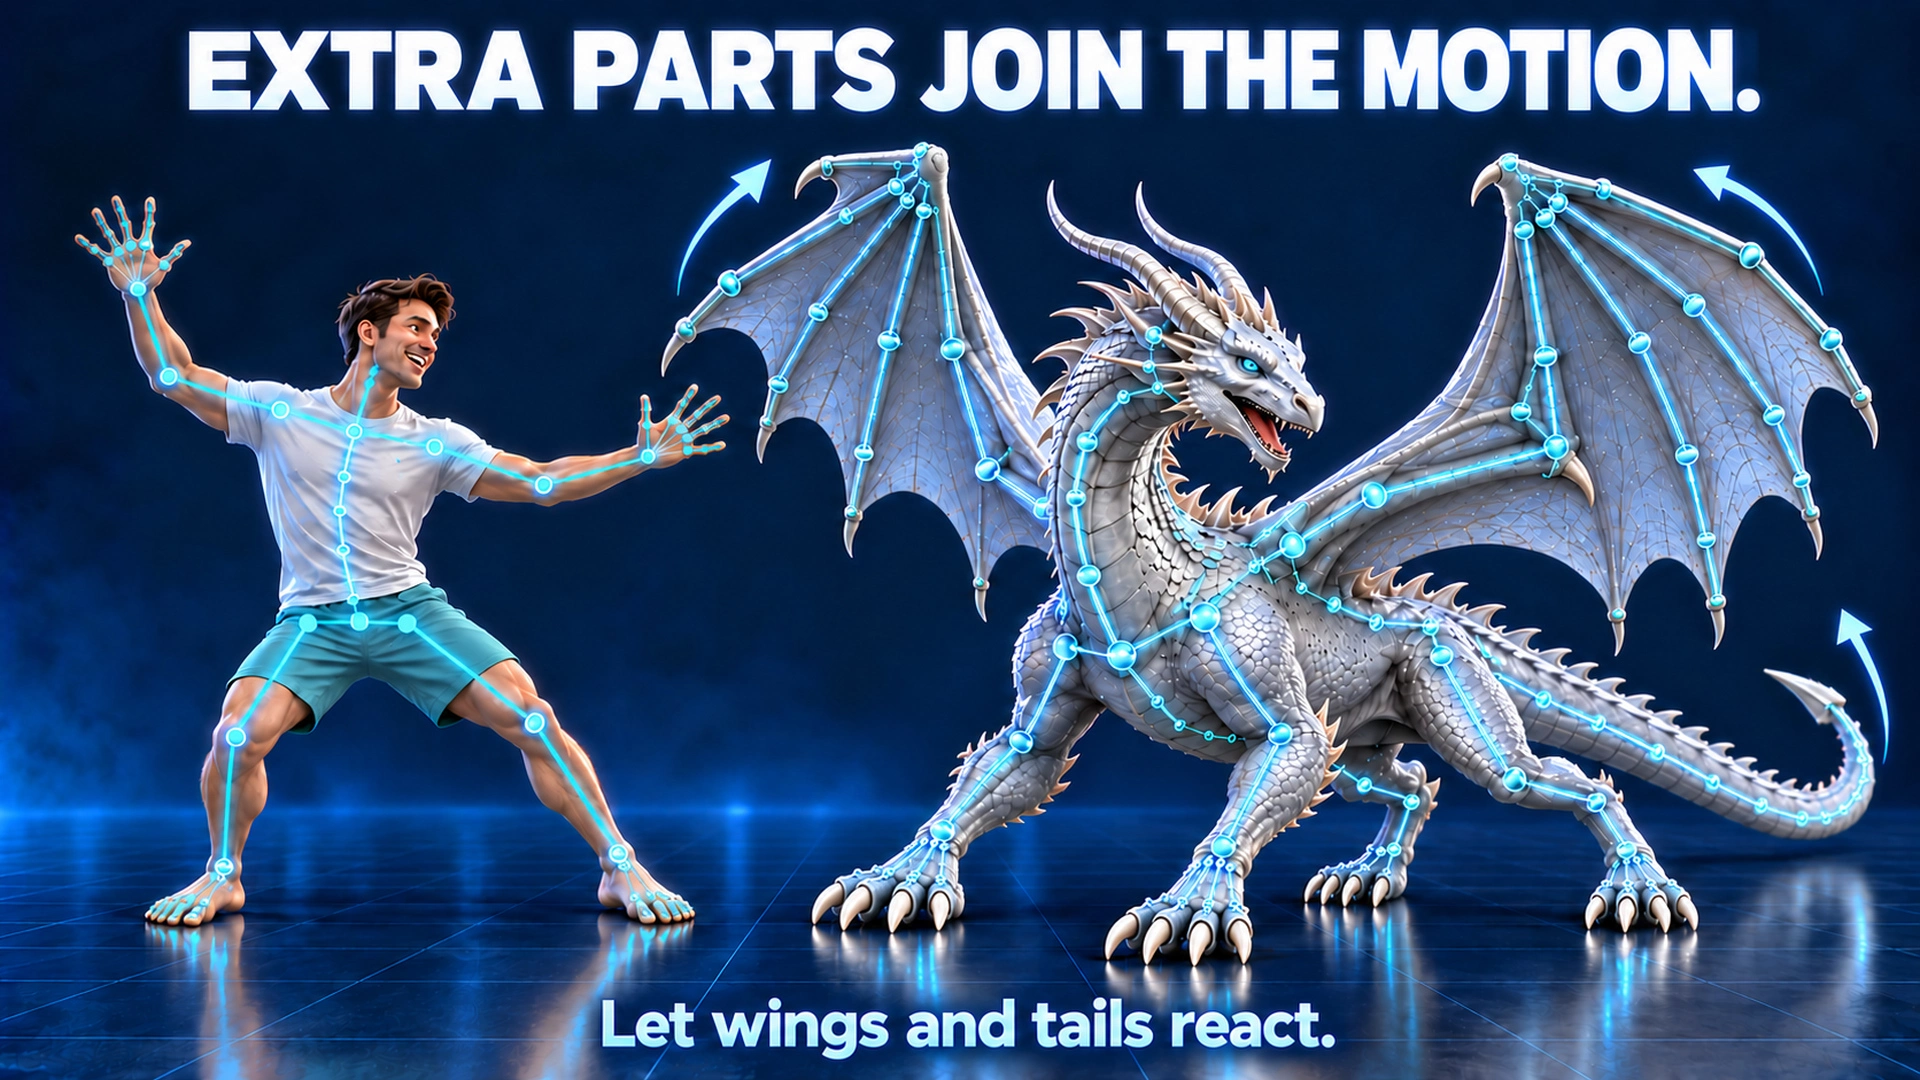
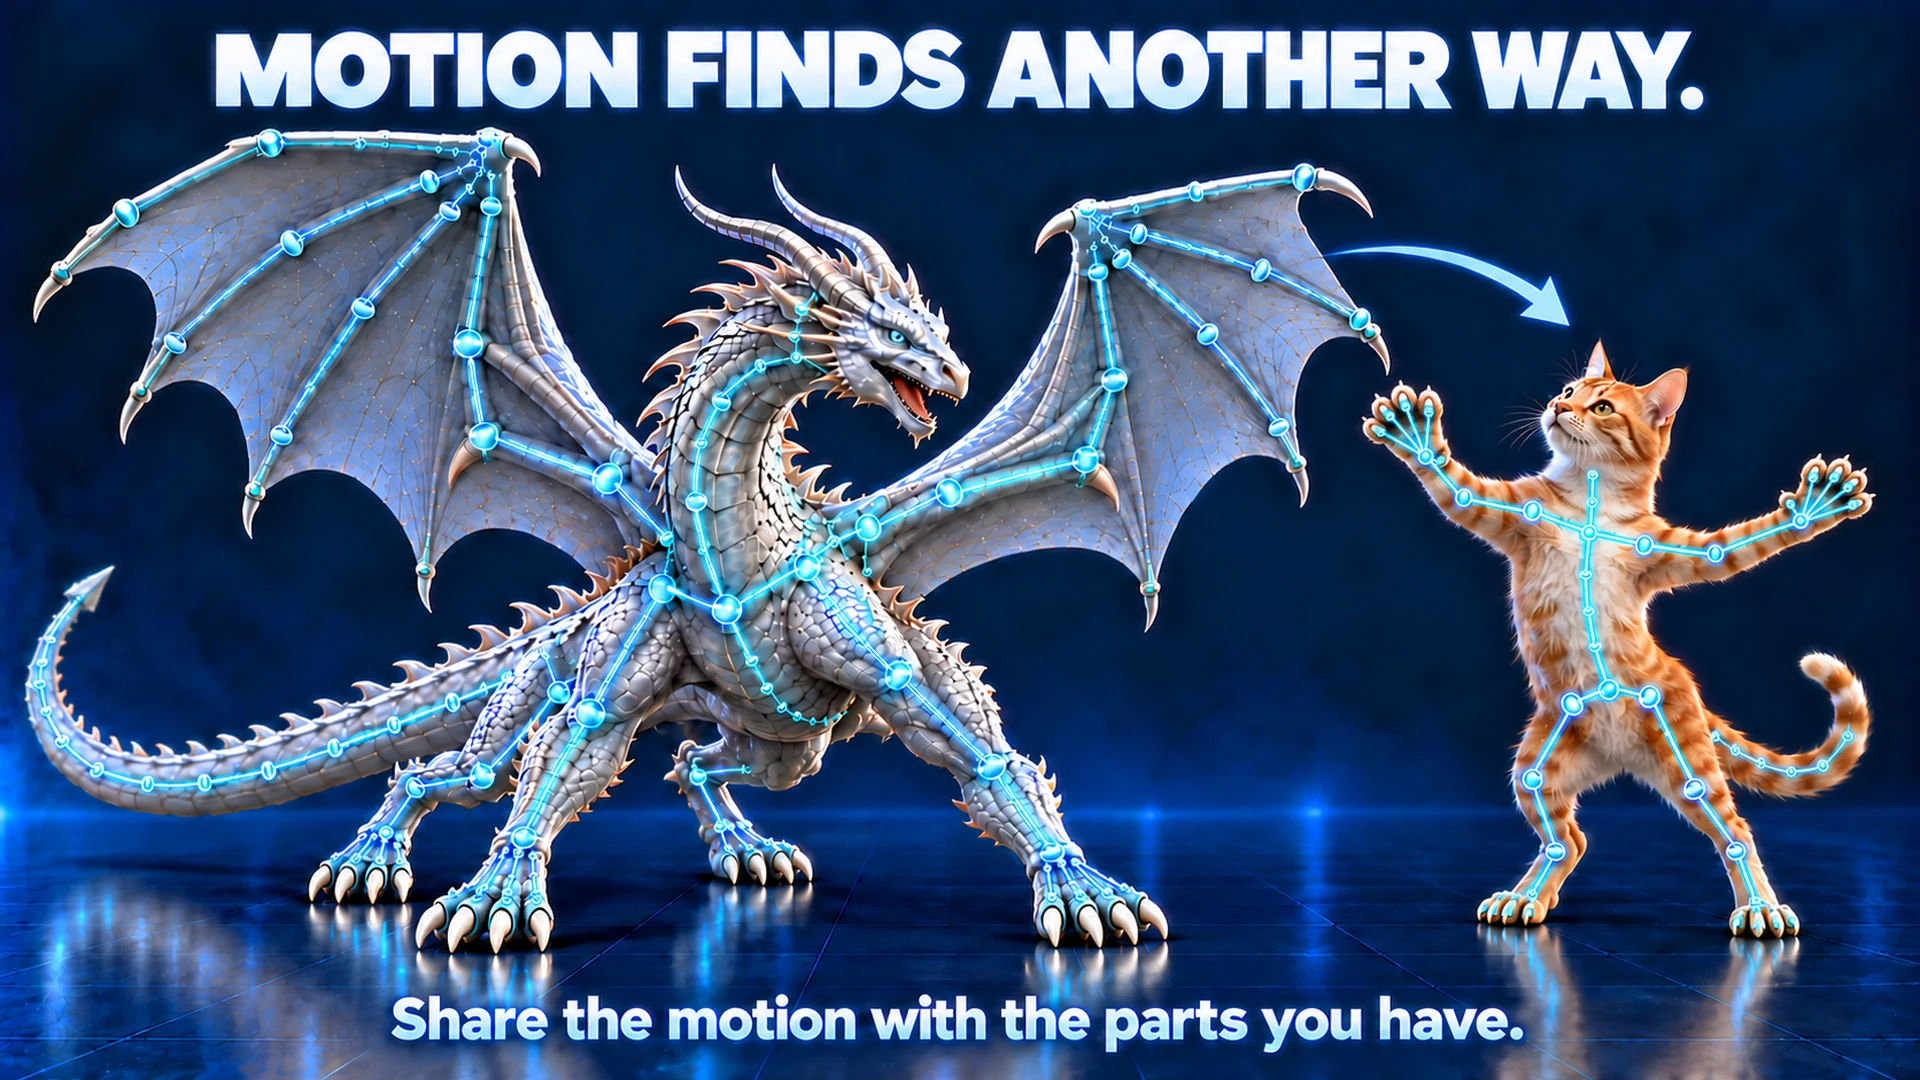
- In Retarget, enable Animate Unmapped Appendages for recognized flexible parts without an animated match.
- Adjust appendage amplitudes and Motion Frequency. Reduce the strength if a tail or ear overreacts.
- In Clone Retarget, choose React To Target Extras and React To Donor Extras independently.
- Use Additional Reaction Strength to set how much these extra movements contribute.
Target extras are parts only the target has, such as a tail or wings. Donor extras can share their movement with suitable target chains: wing movement may influence the torso and front limbs.
Rigid horns usually follow the head. These reactions create animation; they are not a physics or cloth simulation.
Body corrections
Adjust the movement for the target’s proportions and check unwanted mesh intersections.
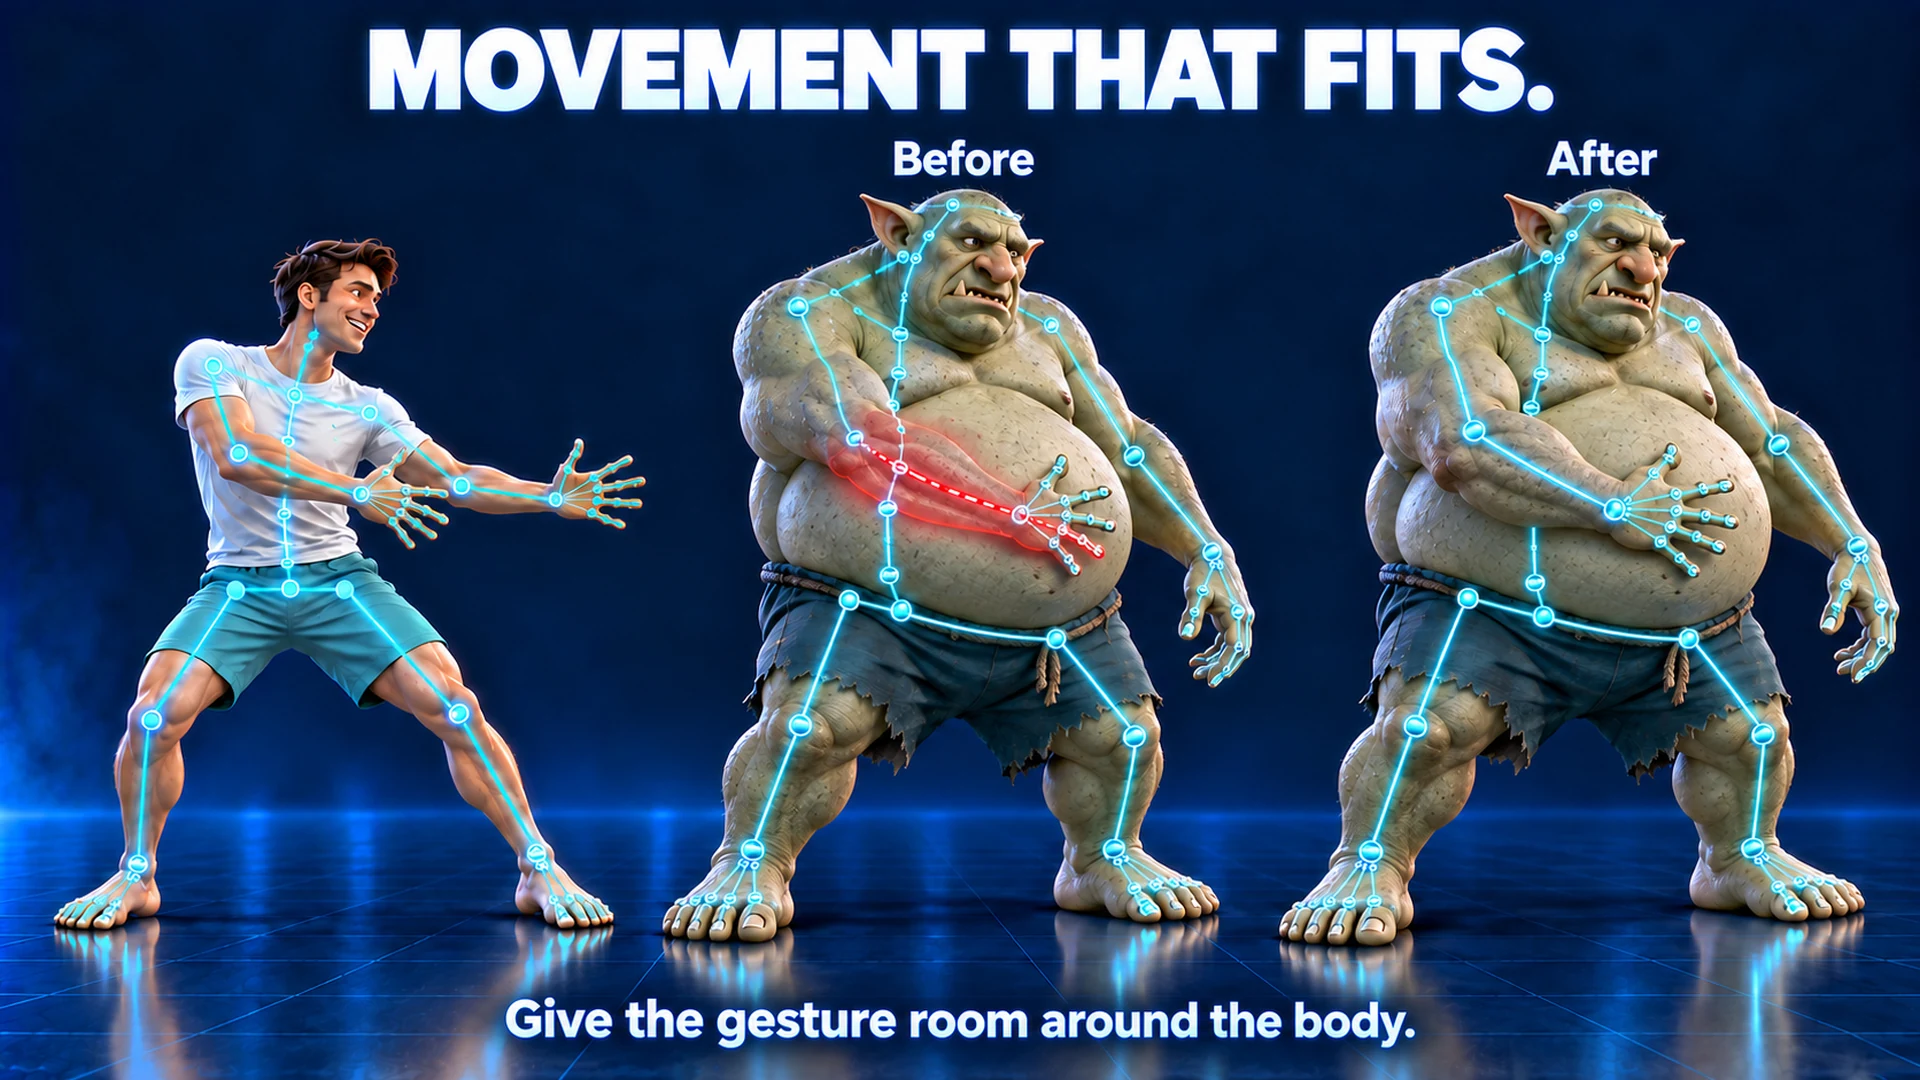
- Find Motion processing near the top of Retarget, Clone Retarget or Batch Retarget.
- Enable Adapt Motion to Body when limbs need to move around the target's shape. Adjust Adaptation Strength and Motion Smoothing.
- Enable Mesh Protection for unwanted intersections. Try a short clip first.
- Enable High Precision Collision only when you need more detailed protection checks. It requires Mesh Protection and takes longer.
All three switches start off. Preserve Self Contacts can retain deliberate near-body gestures. Advanced protection settings control the allowed change, its speed and smoothing.
Blue/purple bones show transferred movement, green added reactions, cyan corrections, and red remaining intersections. Read the message below the tabs for the next adjustment.
Review the result, especially close poses and clothing. Protection does not simulate cloth or check the scenery; it cannot promise every pose is overlap-free.
Batch Retarget
Process up to 25 different clips for one target using the same mode. Coffee is optional.
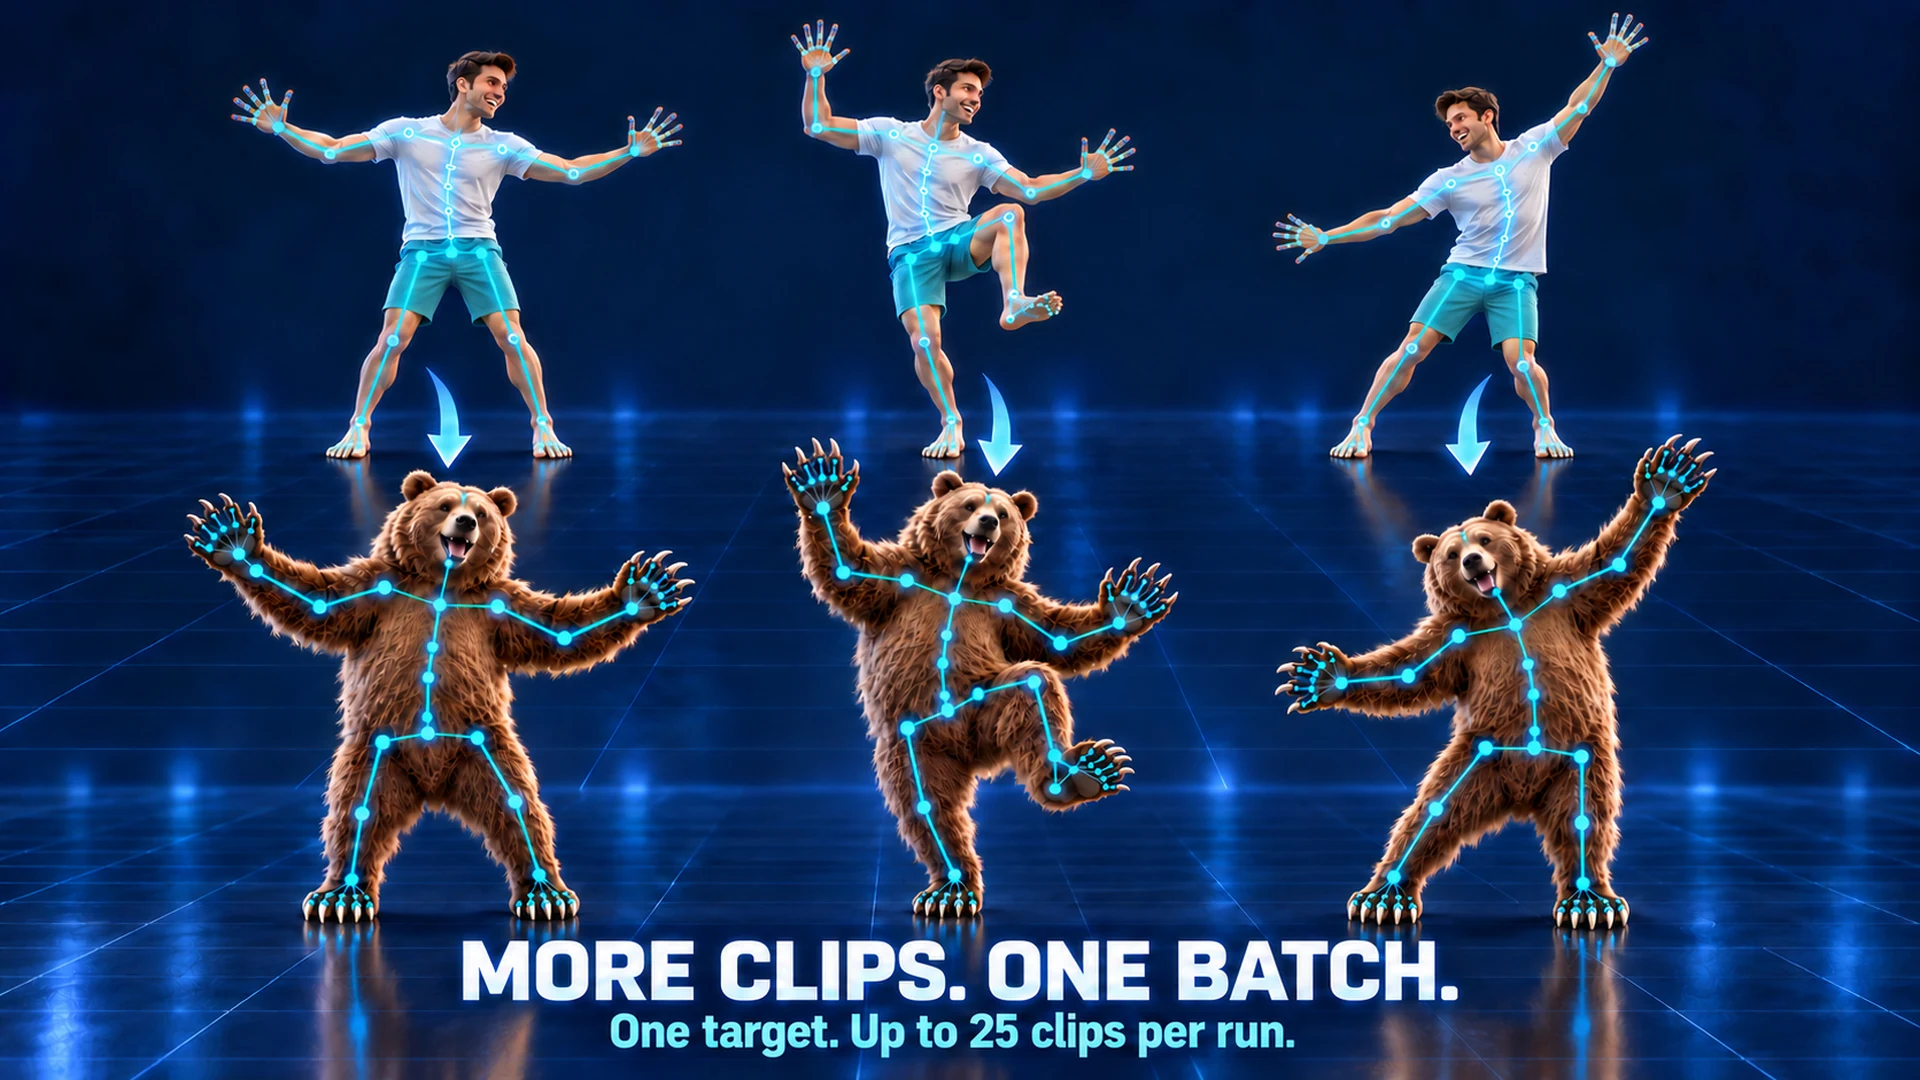
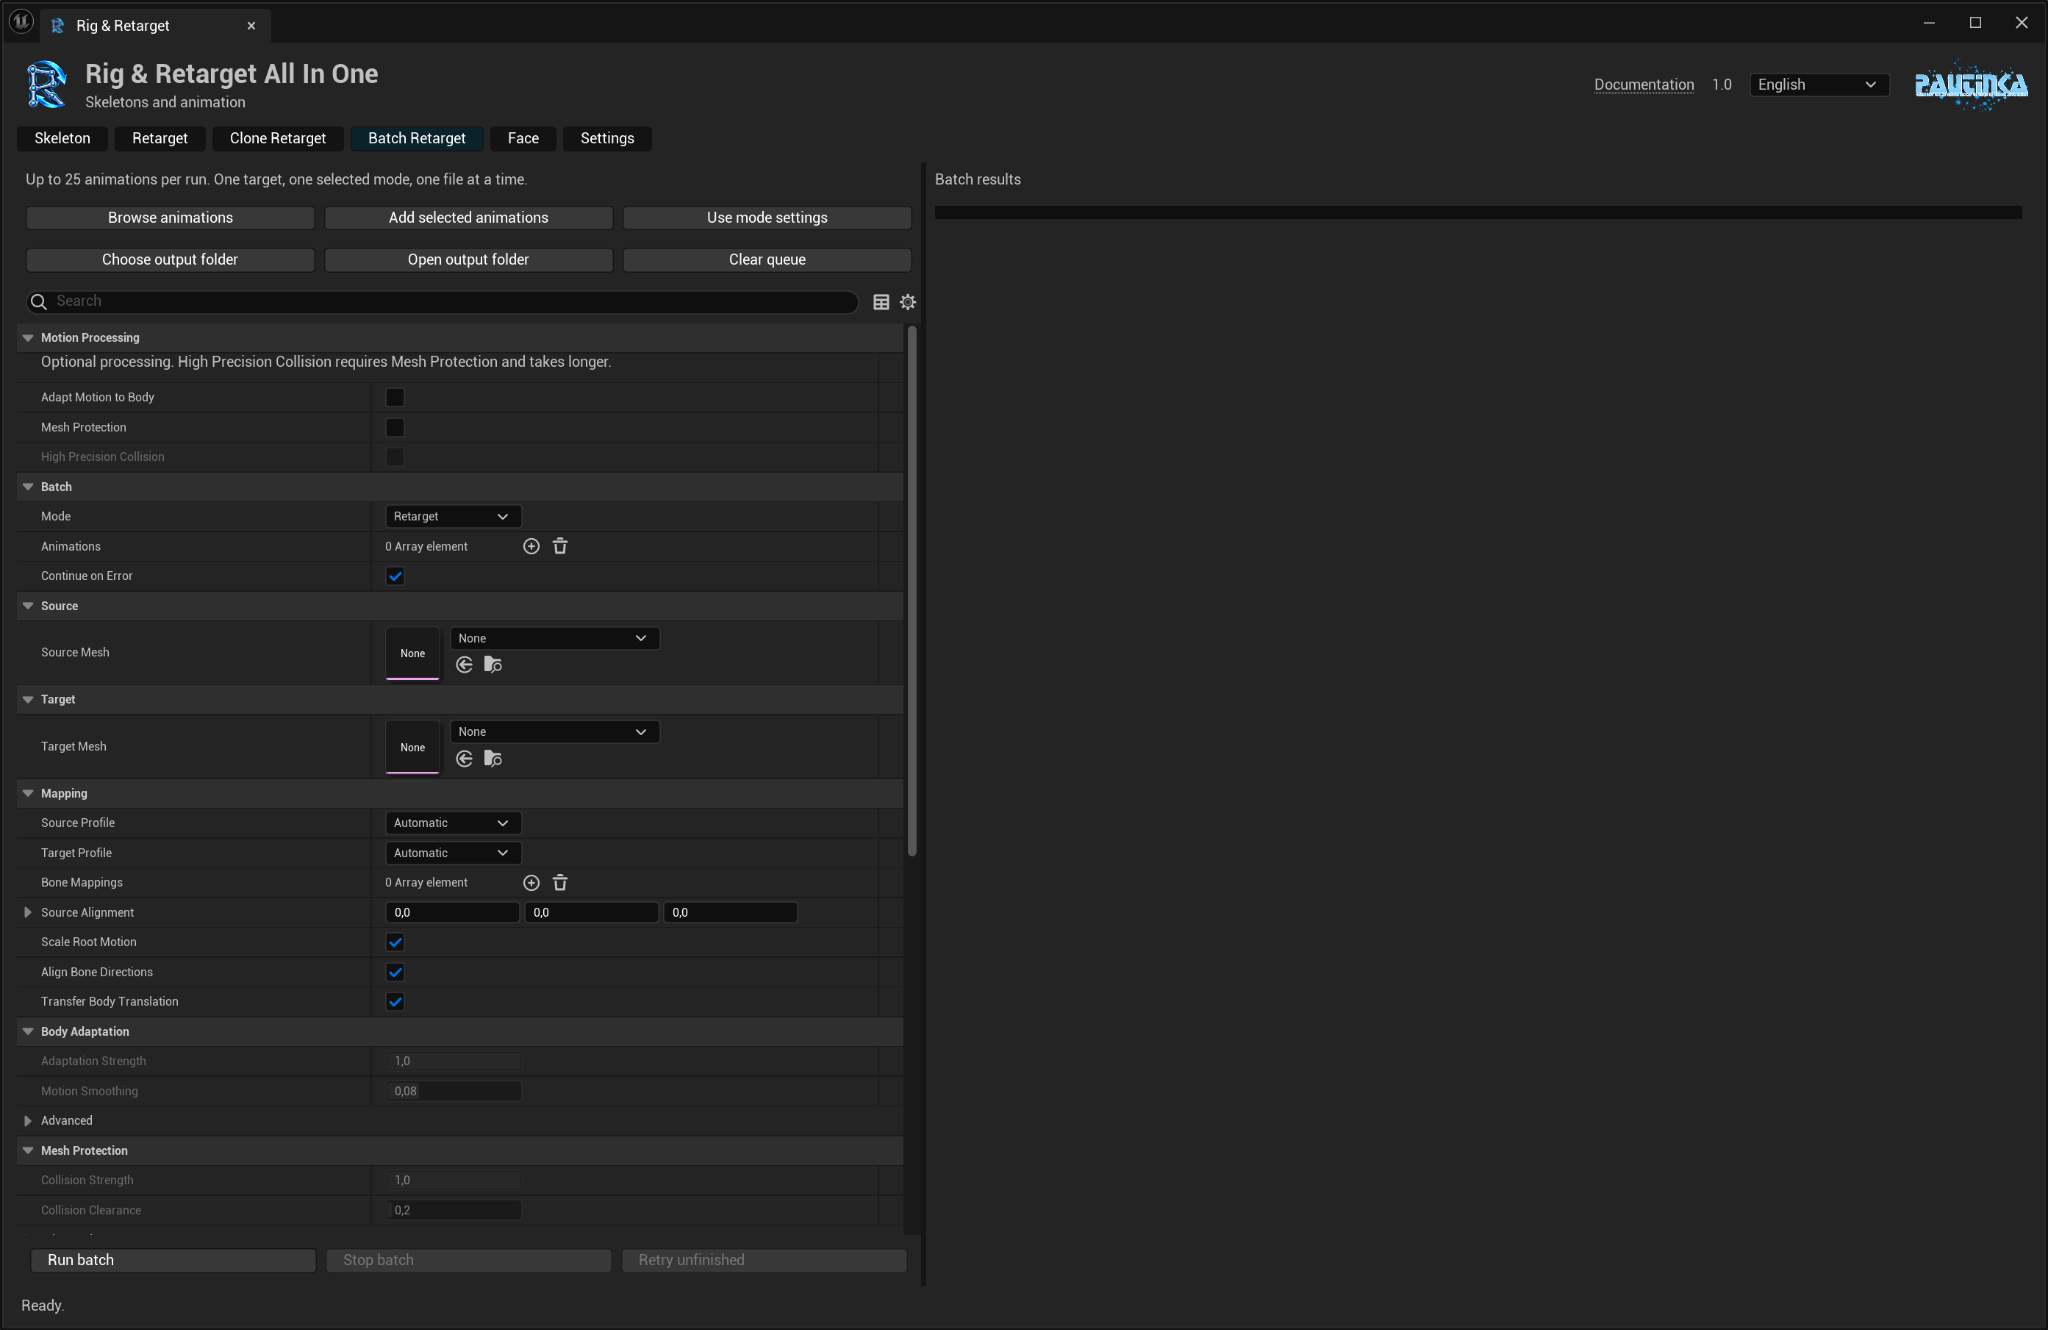
- Open Batch Retarget, choose Mode and one Target Mesh.
- Use Browse Animations or Add Selected Animations from the Content Browser. Remove or reorder entries as needed.
- Use Mode Settings to take the chosen main mode's settings. Choose Output Folder and an optional Name Prefix.
- Press Run Batch. Review Results and use Open Saved Animation to inspect a clip.
- After adjusting settings, use Retry Unfinished for failed, canceled or unprocessed entries.
Clips run one at a time. Duplicate and empty entries are ignored. Larger collections need several runs. Names include source, target and mode; existing files are not overwritten.
Continue On Error lets the queue proceed. Stop Batch stops after the current file; Cancel in the progress window cancels the current operation and queue. Completed results remain.
Choose Output Folder opens the project folder tree, where you can create a folder. Open Output Folder shows it in the Content Browser. With mixed donor skeletons, check that manual mapping names exist on every donor.
Face and morph targets
Add facial joints where the geometry supports them and work with existing morph targets.
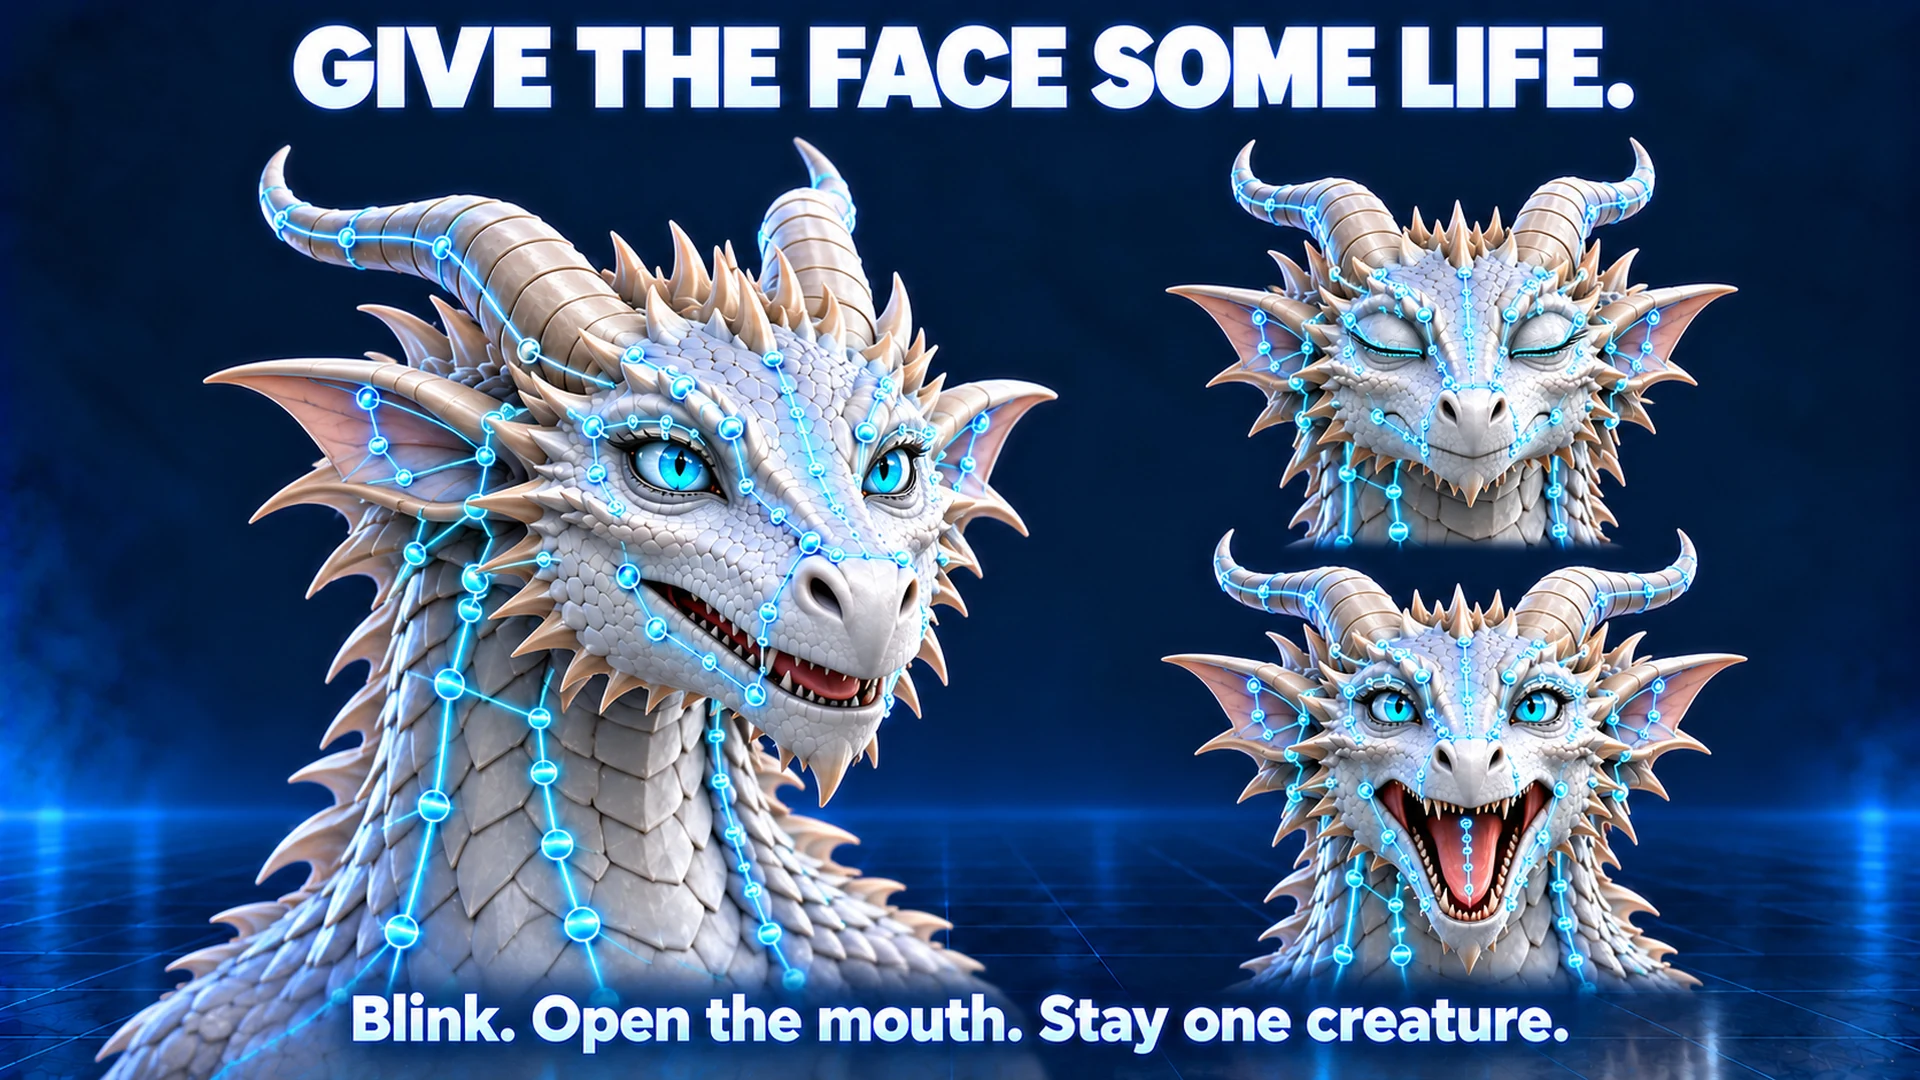
- Suggest points in Skeleton first. Inspect the proposed eye, lid, brow, cheek and jaw joints where the geometry supports them.
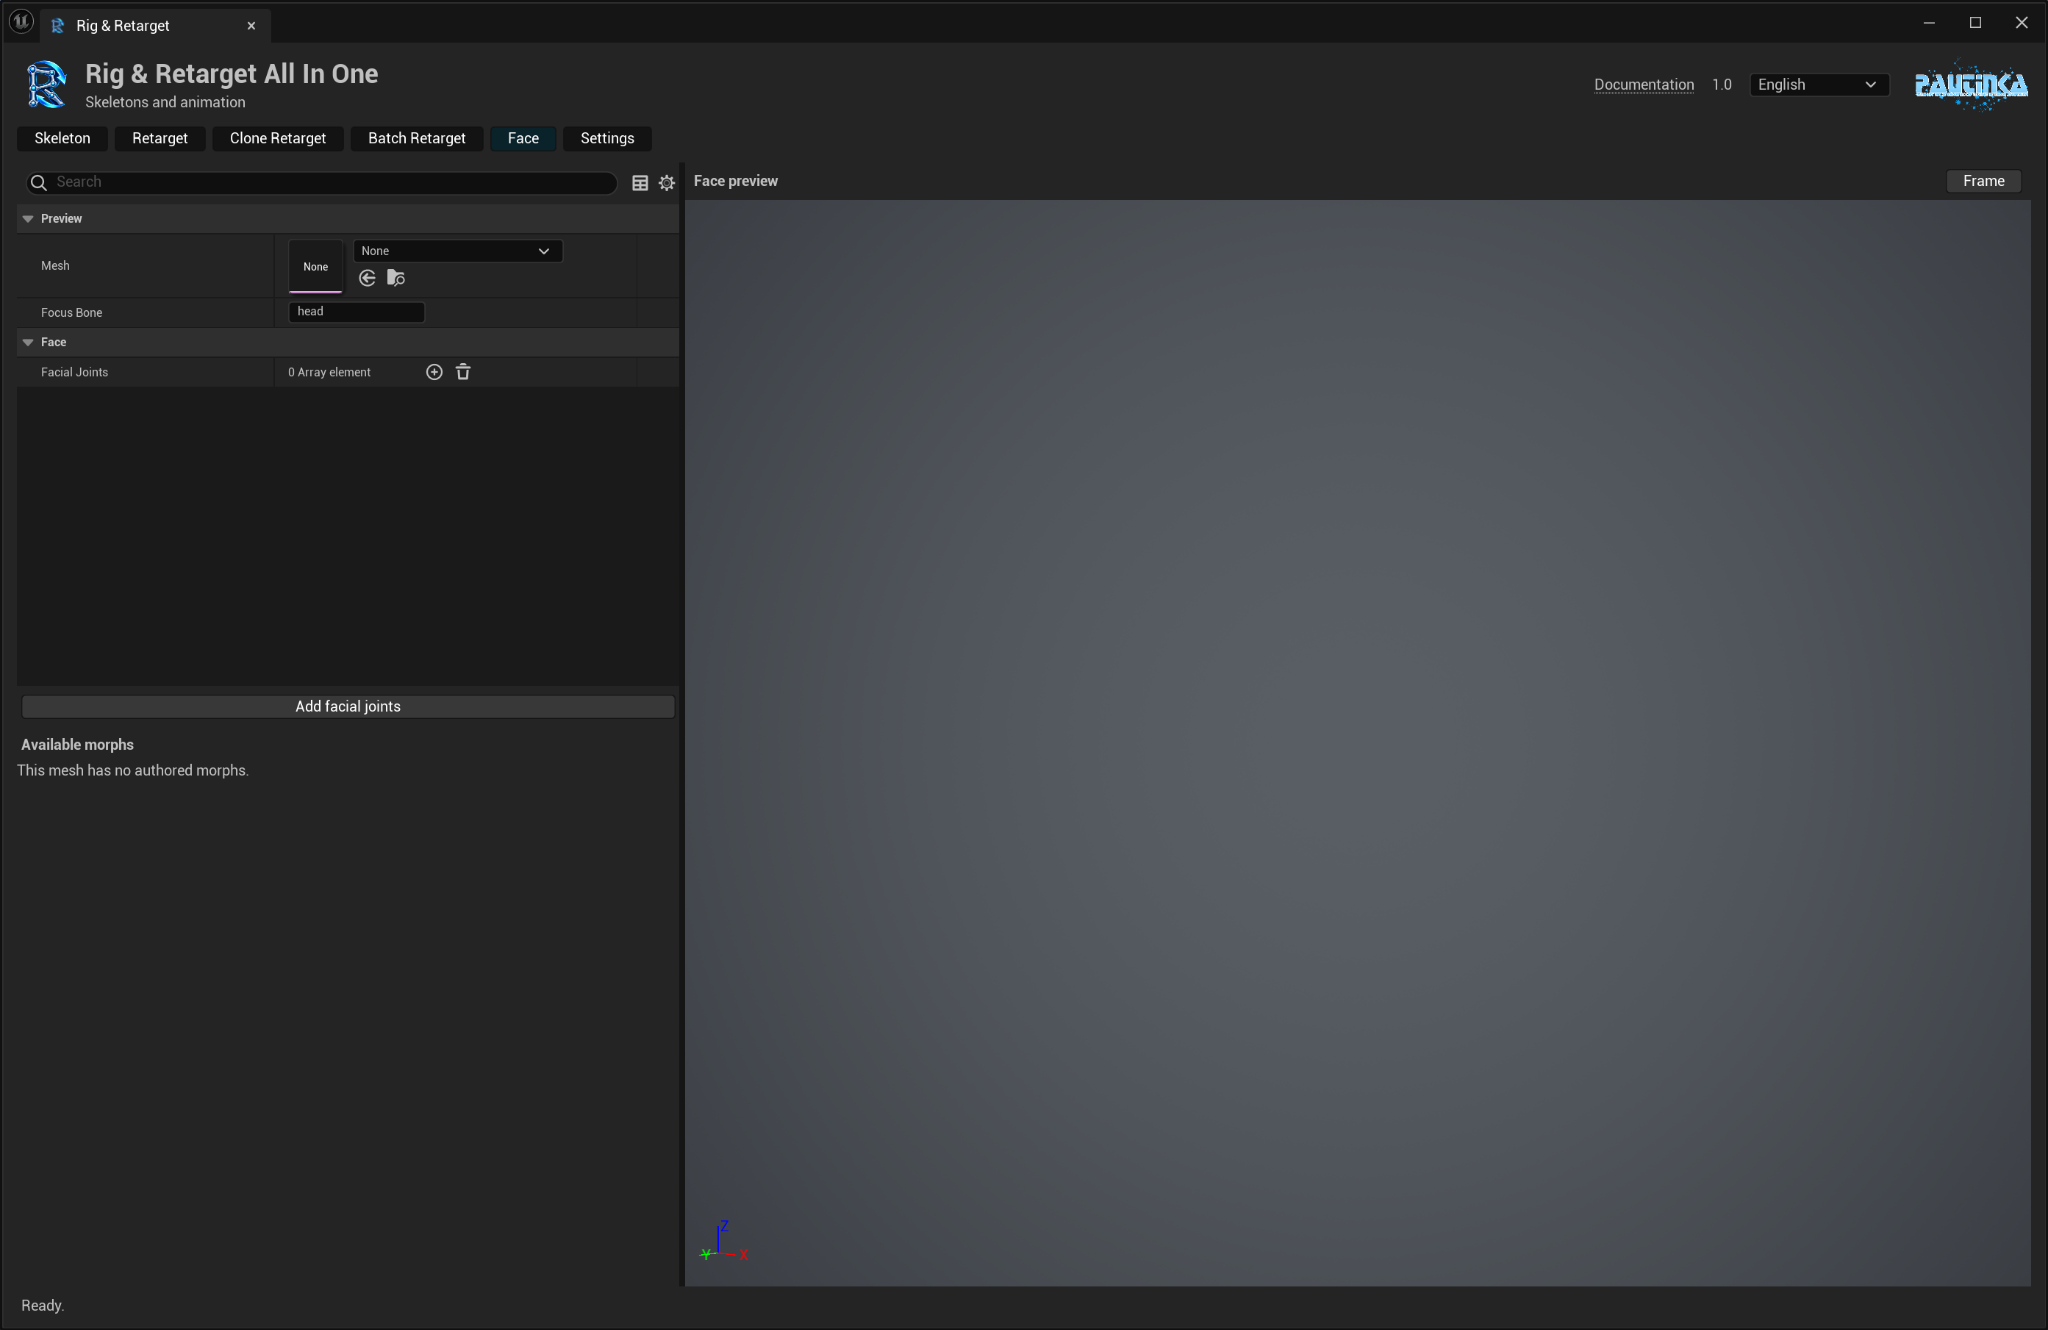
- In Face, add Facial Joints: choose Feature Type, a unique Name, an existing Parent and Position. Enable Deform for joints affecting the skin.
- Enter parents before children. Press Add facial joints, return to Skeleton, review the points and Create mesh.
- For existing morphs, select a Skeletal Mesh in Face and try the sliders. Focus Bone brings the head closer.
- In retarget settings, use Copy Compatible Morph Curves. Curve Mappings pairs different names; Gain adjusts expression strength.
Upper/lower lids and lips can be separate. Eyes and horns normally use rigid attachments; ears and tongues can use chains. Add parts that are actually modeled: a bone cannot conjure a missing tongue.
Drive Face Bones From Curves can animate weighted facial bones. Existing facial tracks and manual mappings take priority; a mapped morph takes priority over the same generated bone expression.
Normalize Morph Ranges adjusts recognized automatic expressions; manual mappings keep their Gain. New morph shapes are not generated. Check blinking and mouth movement before saving.
Preview, save & get help
Check the whole clip, adjust the preview, then save the result to your project.
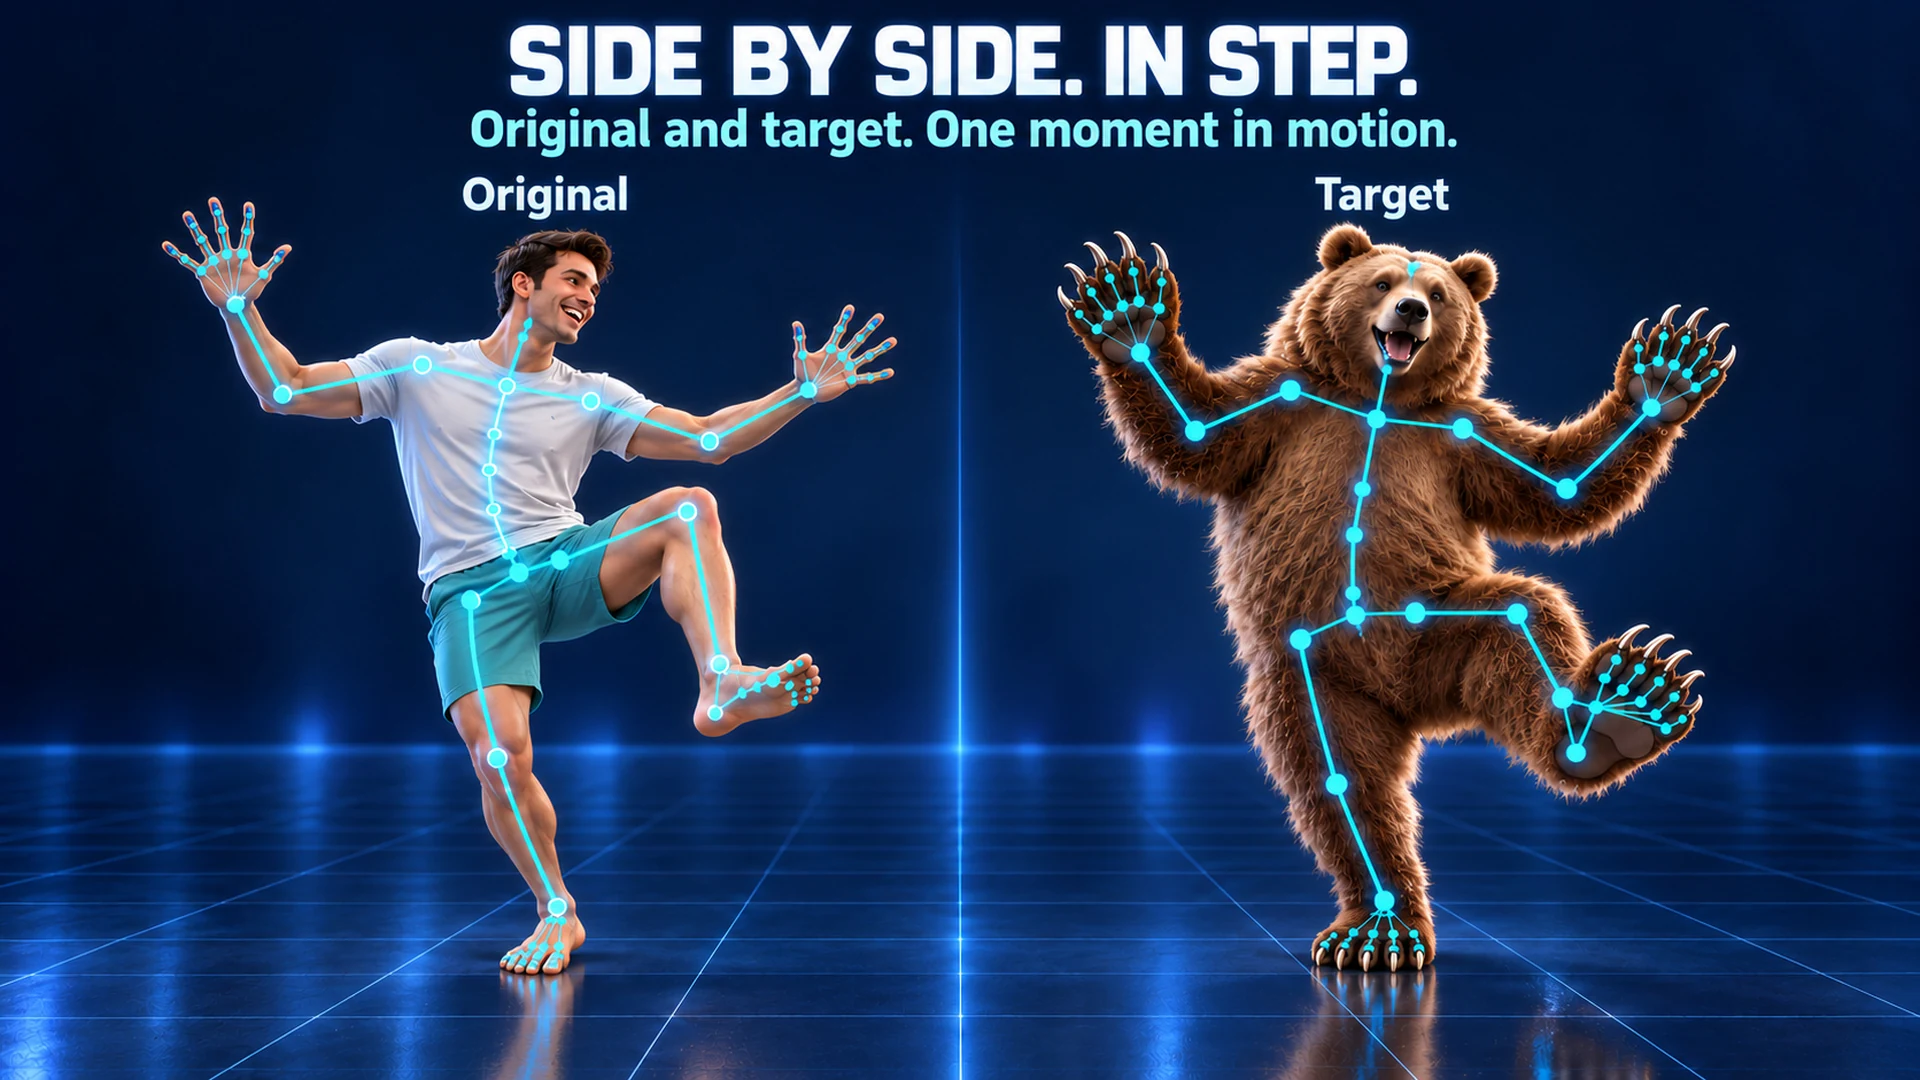
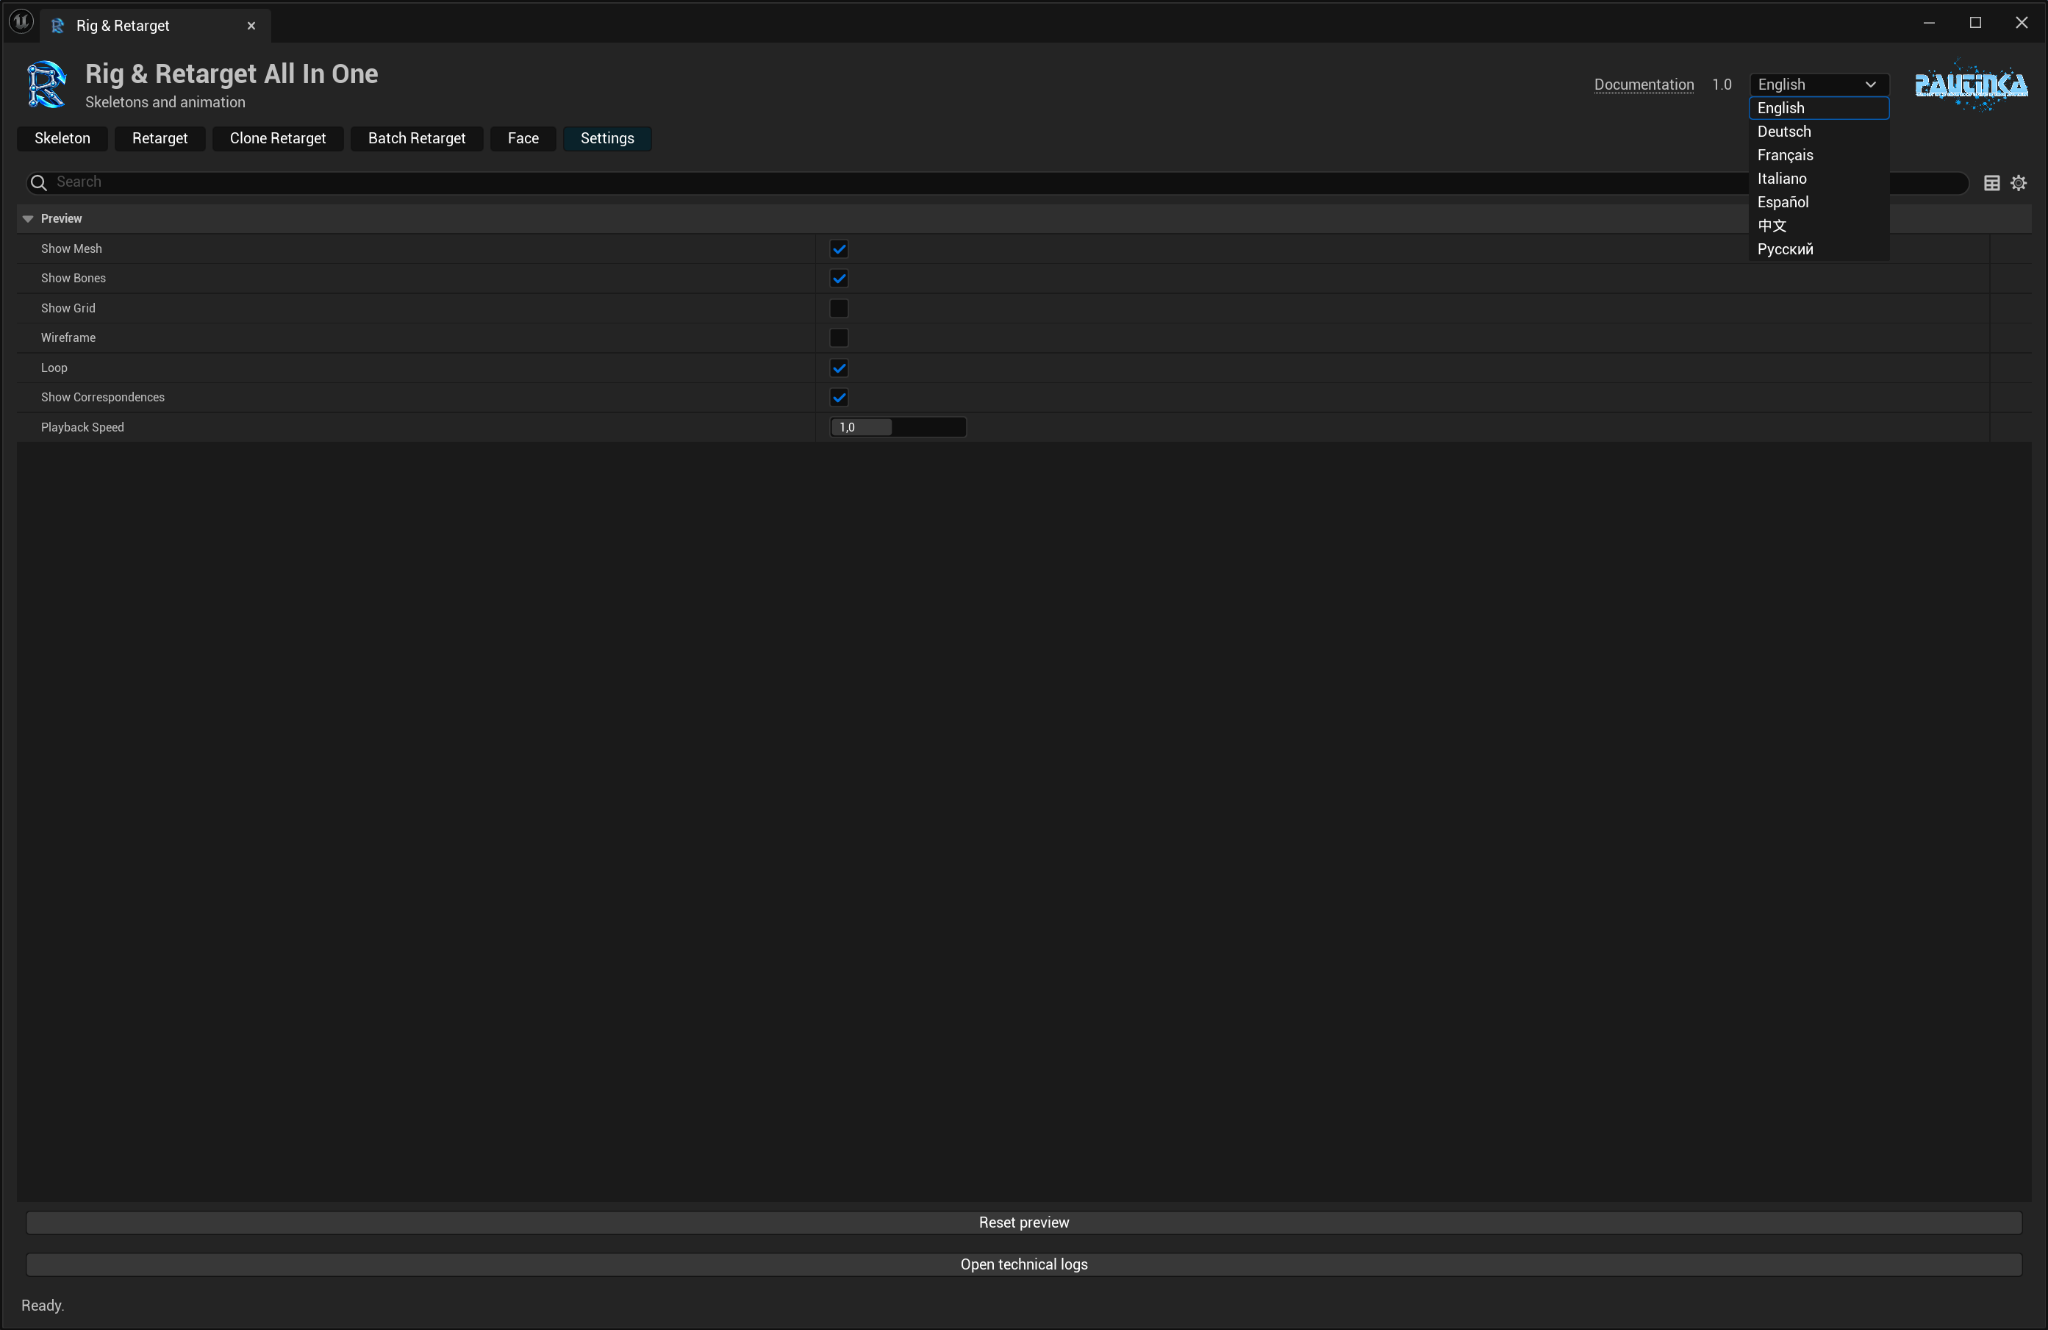
- Use Show Mesh, Show Bones, Show Grid and Wireframe for a clearer view. Show Correspondences explains which joints receive movement.
- Use Loop and Playback Speed to check motion. Frame both centers the two retarget views; Reset preview restores display defaults.
- After changing animation settings, prepare the preview again. Save animation becomes available after a successful preview.
- If an action needs attention, read the message below the tabs and follow its suggestion. For support details, Settings → Open technical logs opens the project log folder.
Outputs go to the project folder selected in the active tab. This plugin creates Skeletons, Skeletal Meshes and Animation Sequences. Control Rigs and Physics Assets are created by the separate Pautinka tool.
Common questions
Do I need to match Manny?
No. Review the proposed joints for your creature's own shape. Native Unreal Skeleton and Skeletal Mesh assets are created with a root bone.
Can I rig just a hand or wing?
Yes. Choose that Static Mesh, review the proposal and correct the joints if needed.
Will every creature work without adjustments?
Automatic suggestions save work, but unusual anatomy and close poses still need review. Move points or correct mappings when the preview needs it.
Are the illustrated creatures included?
No. They explain the workflows. You use your own meshes and animations.
Will the plugin replace my original assets?
No. It saves new outputs and gives existing names a unique suffix.
Why is processing taking longer?
Long clips and detailed Mesh Protection checks take more work. Start with a short clip; use High Precision Collision only when needed.
Can I create a mouth or new morphs?
You need suitable mouth geometry and existing morph shapes. The plugin adds joints and transfers expressions; it does not model missing facial parts.